I was able to add a H092P 4 port NIC to my Lenovo 720q SFF PC and install OPNsense. This post documents my process for anybody looking to do the same.
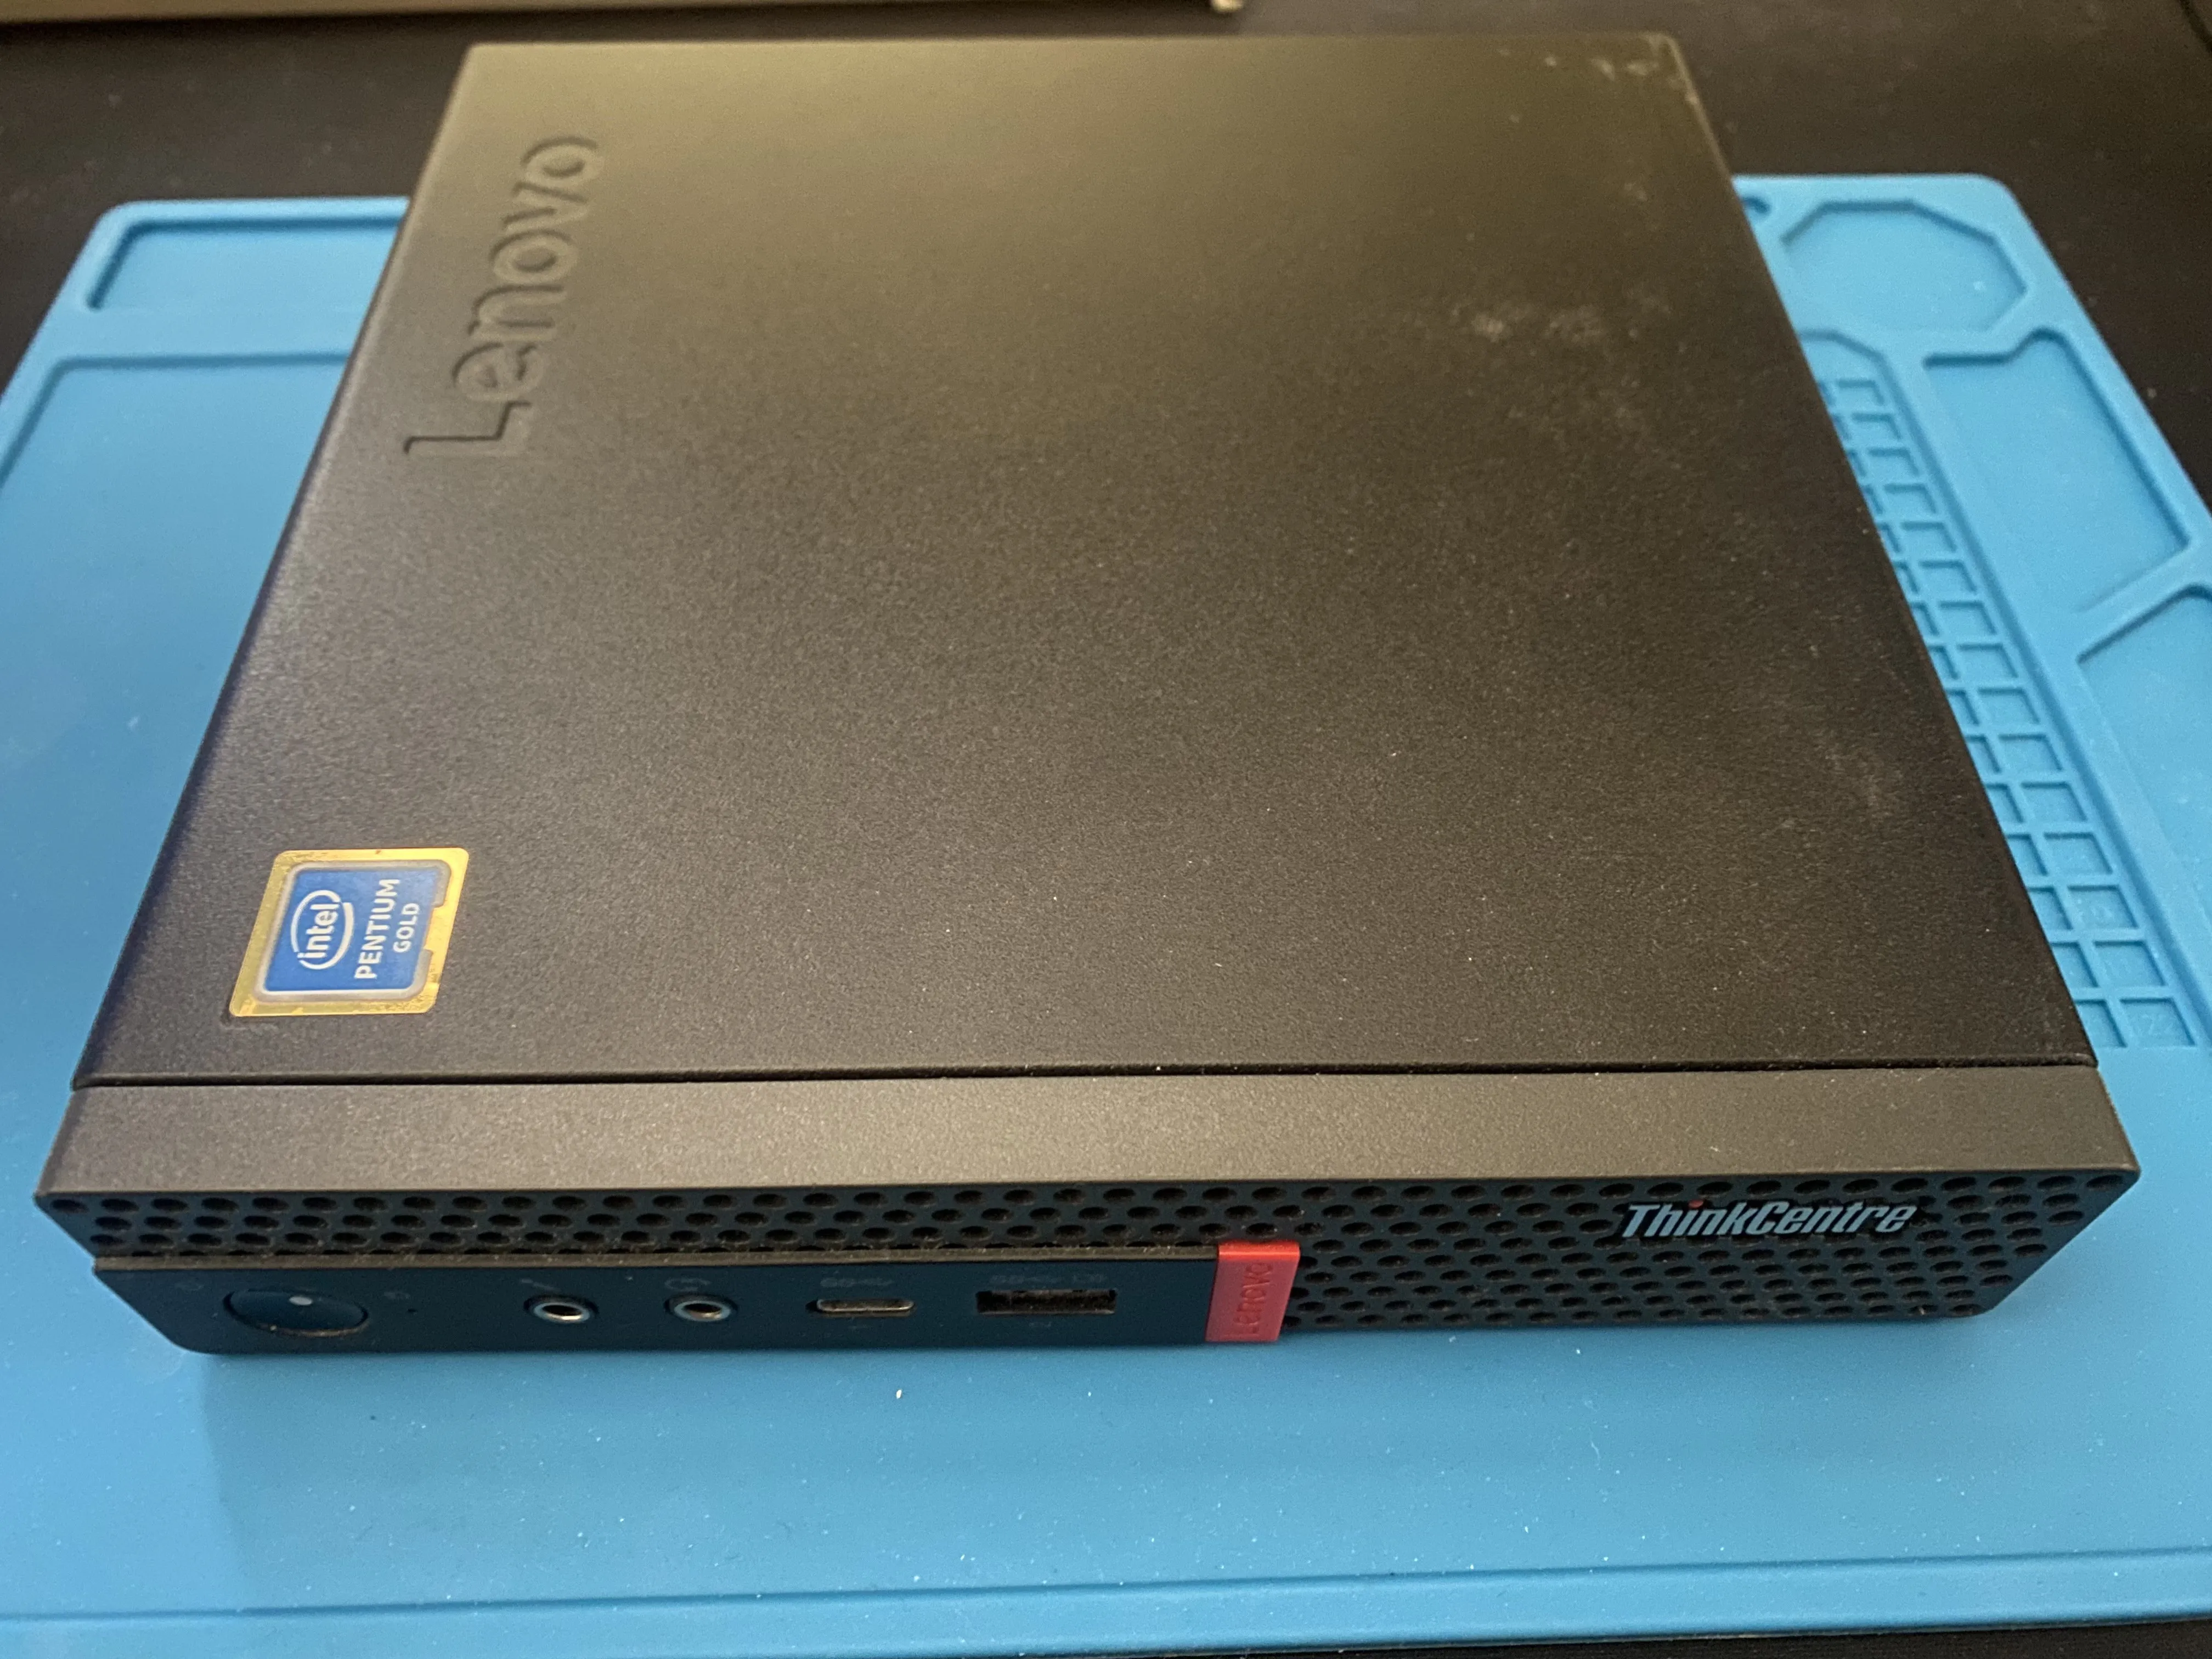
Table of contents
Open Table of contents
Goals
Build a small, inexpensive, gigabit firewall that can manage VLANs and filtering traffic. Reliability is important to me as this will be a point of failure for my network. I have chosen OPNsense for this project because of its community support and overall positive public opinion.
Hardware
For this build I am using a Lenovo 720q mini PC and a Dell H092P Pro/1000 VT NIC.
Lenovo 720q
I went with the 720q because of its PCI Express expansion slot, which is rare for this form factor. Both the 720q and 920q models have the PCIe slot and it fits a wide variety of cards. The 720q is quite reasonable second hand which makes it great for enthusiasts like me. My model with 12Gb of Ram and a 2 core 4 thread Pentium Gold cost me $75.
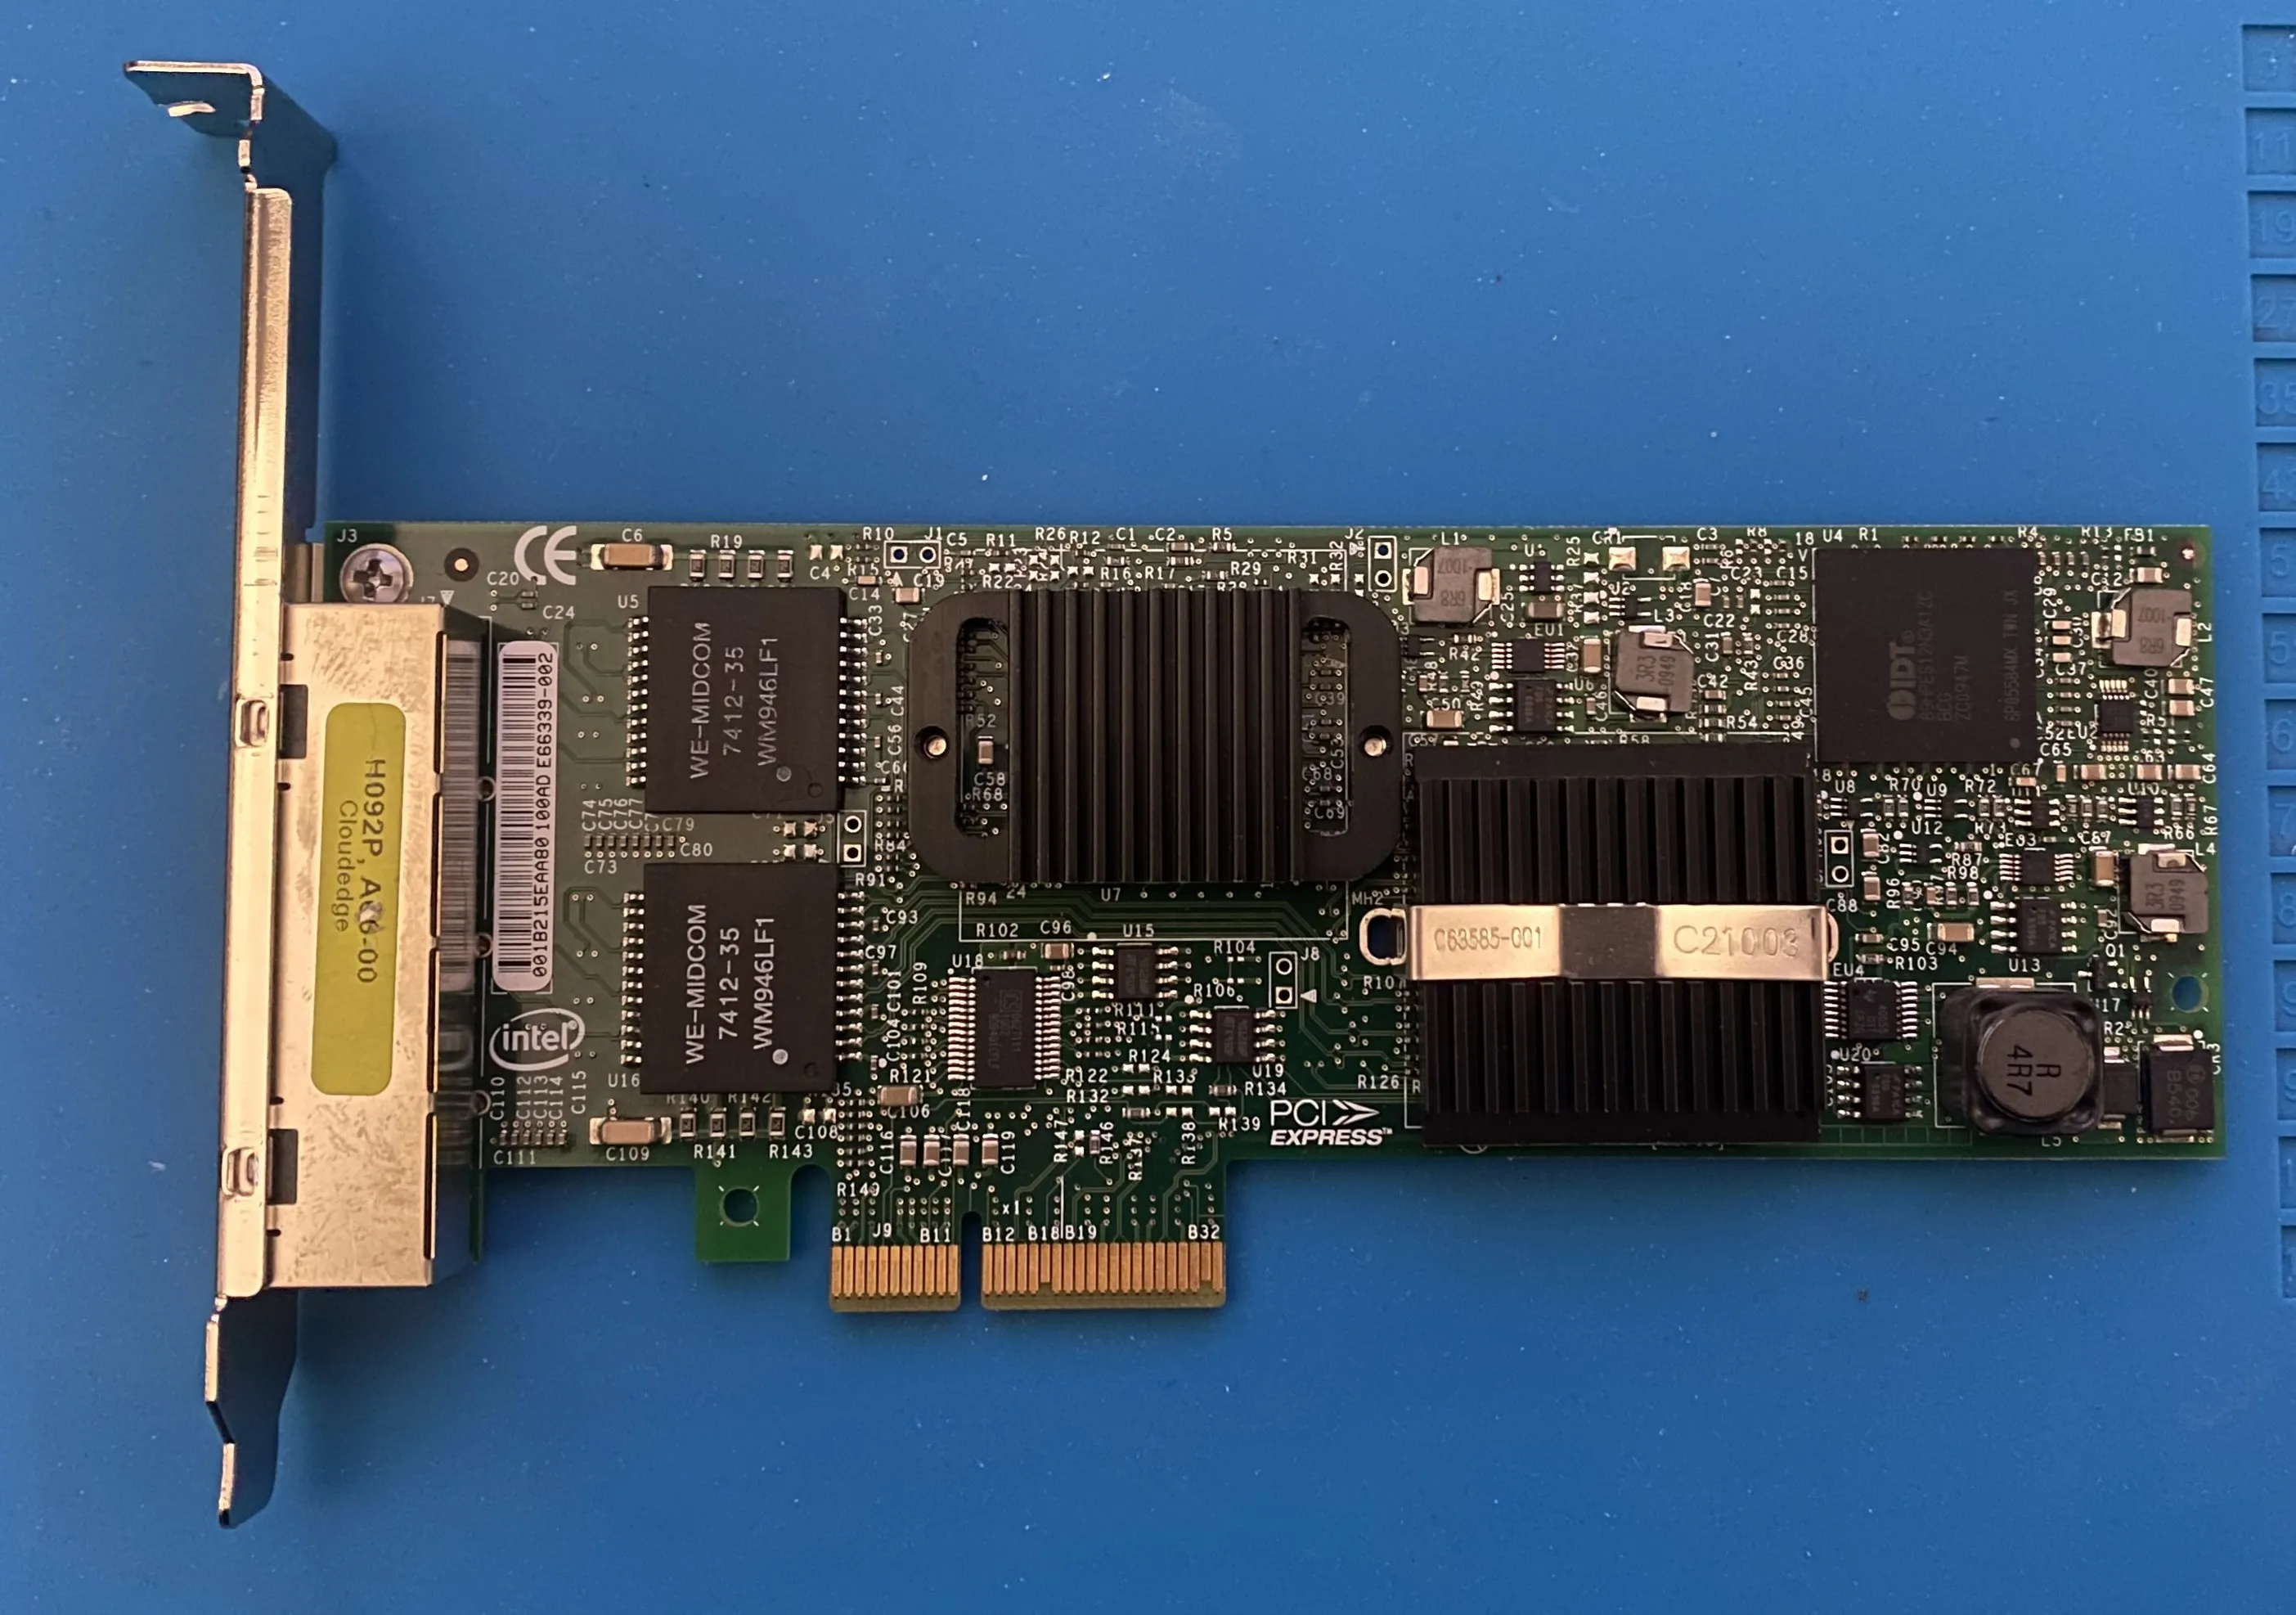
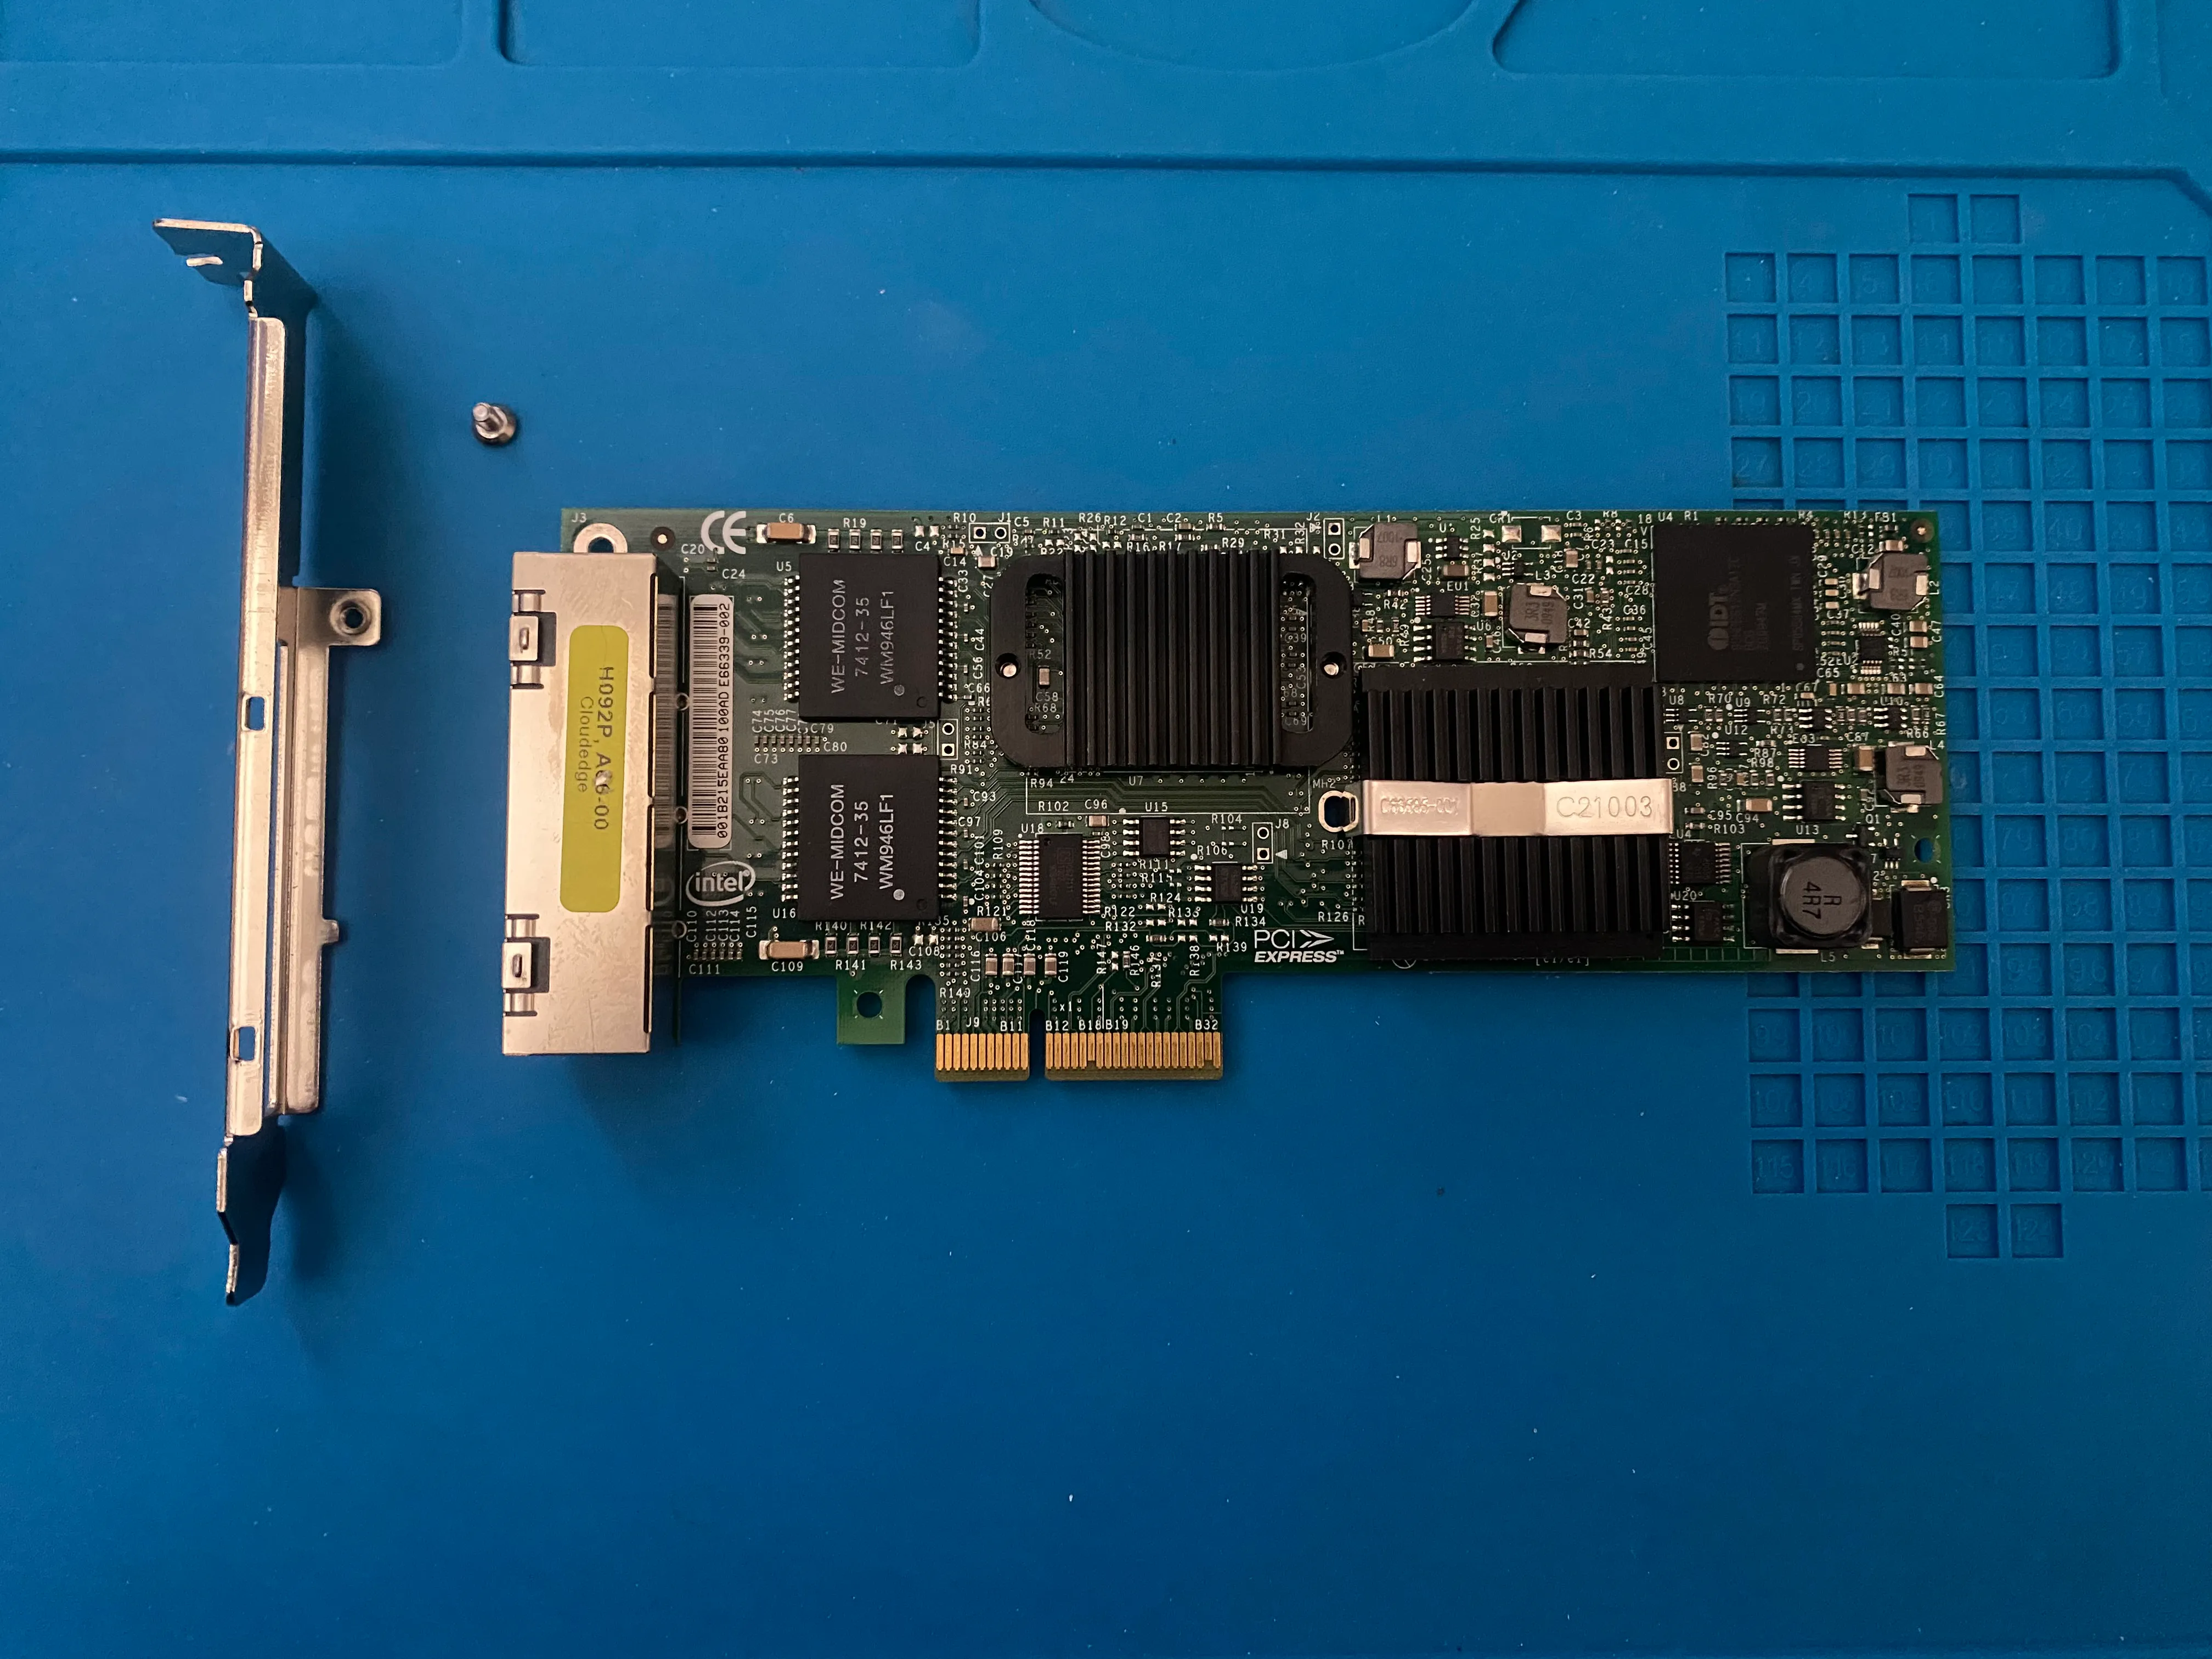
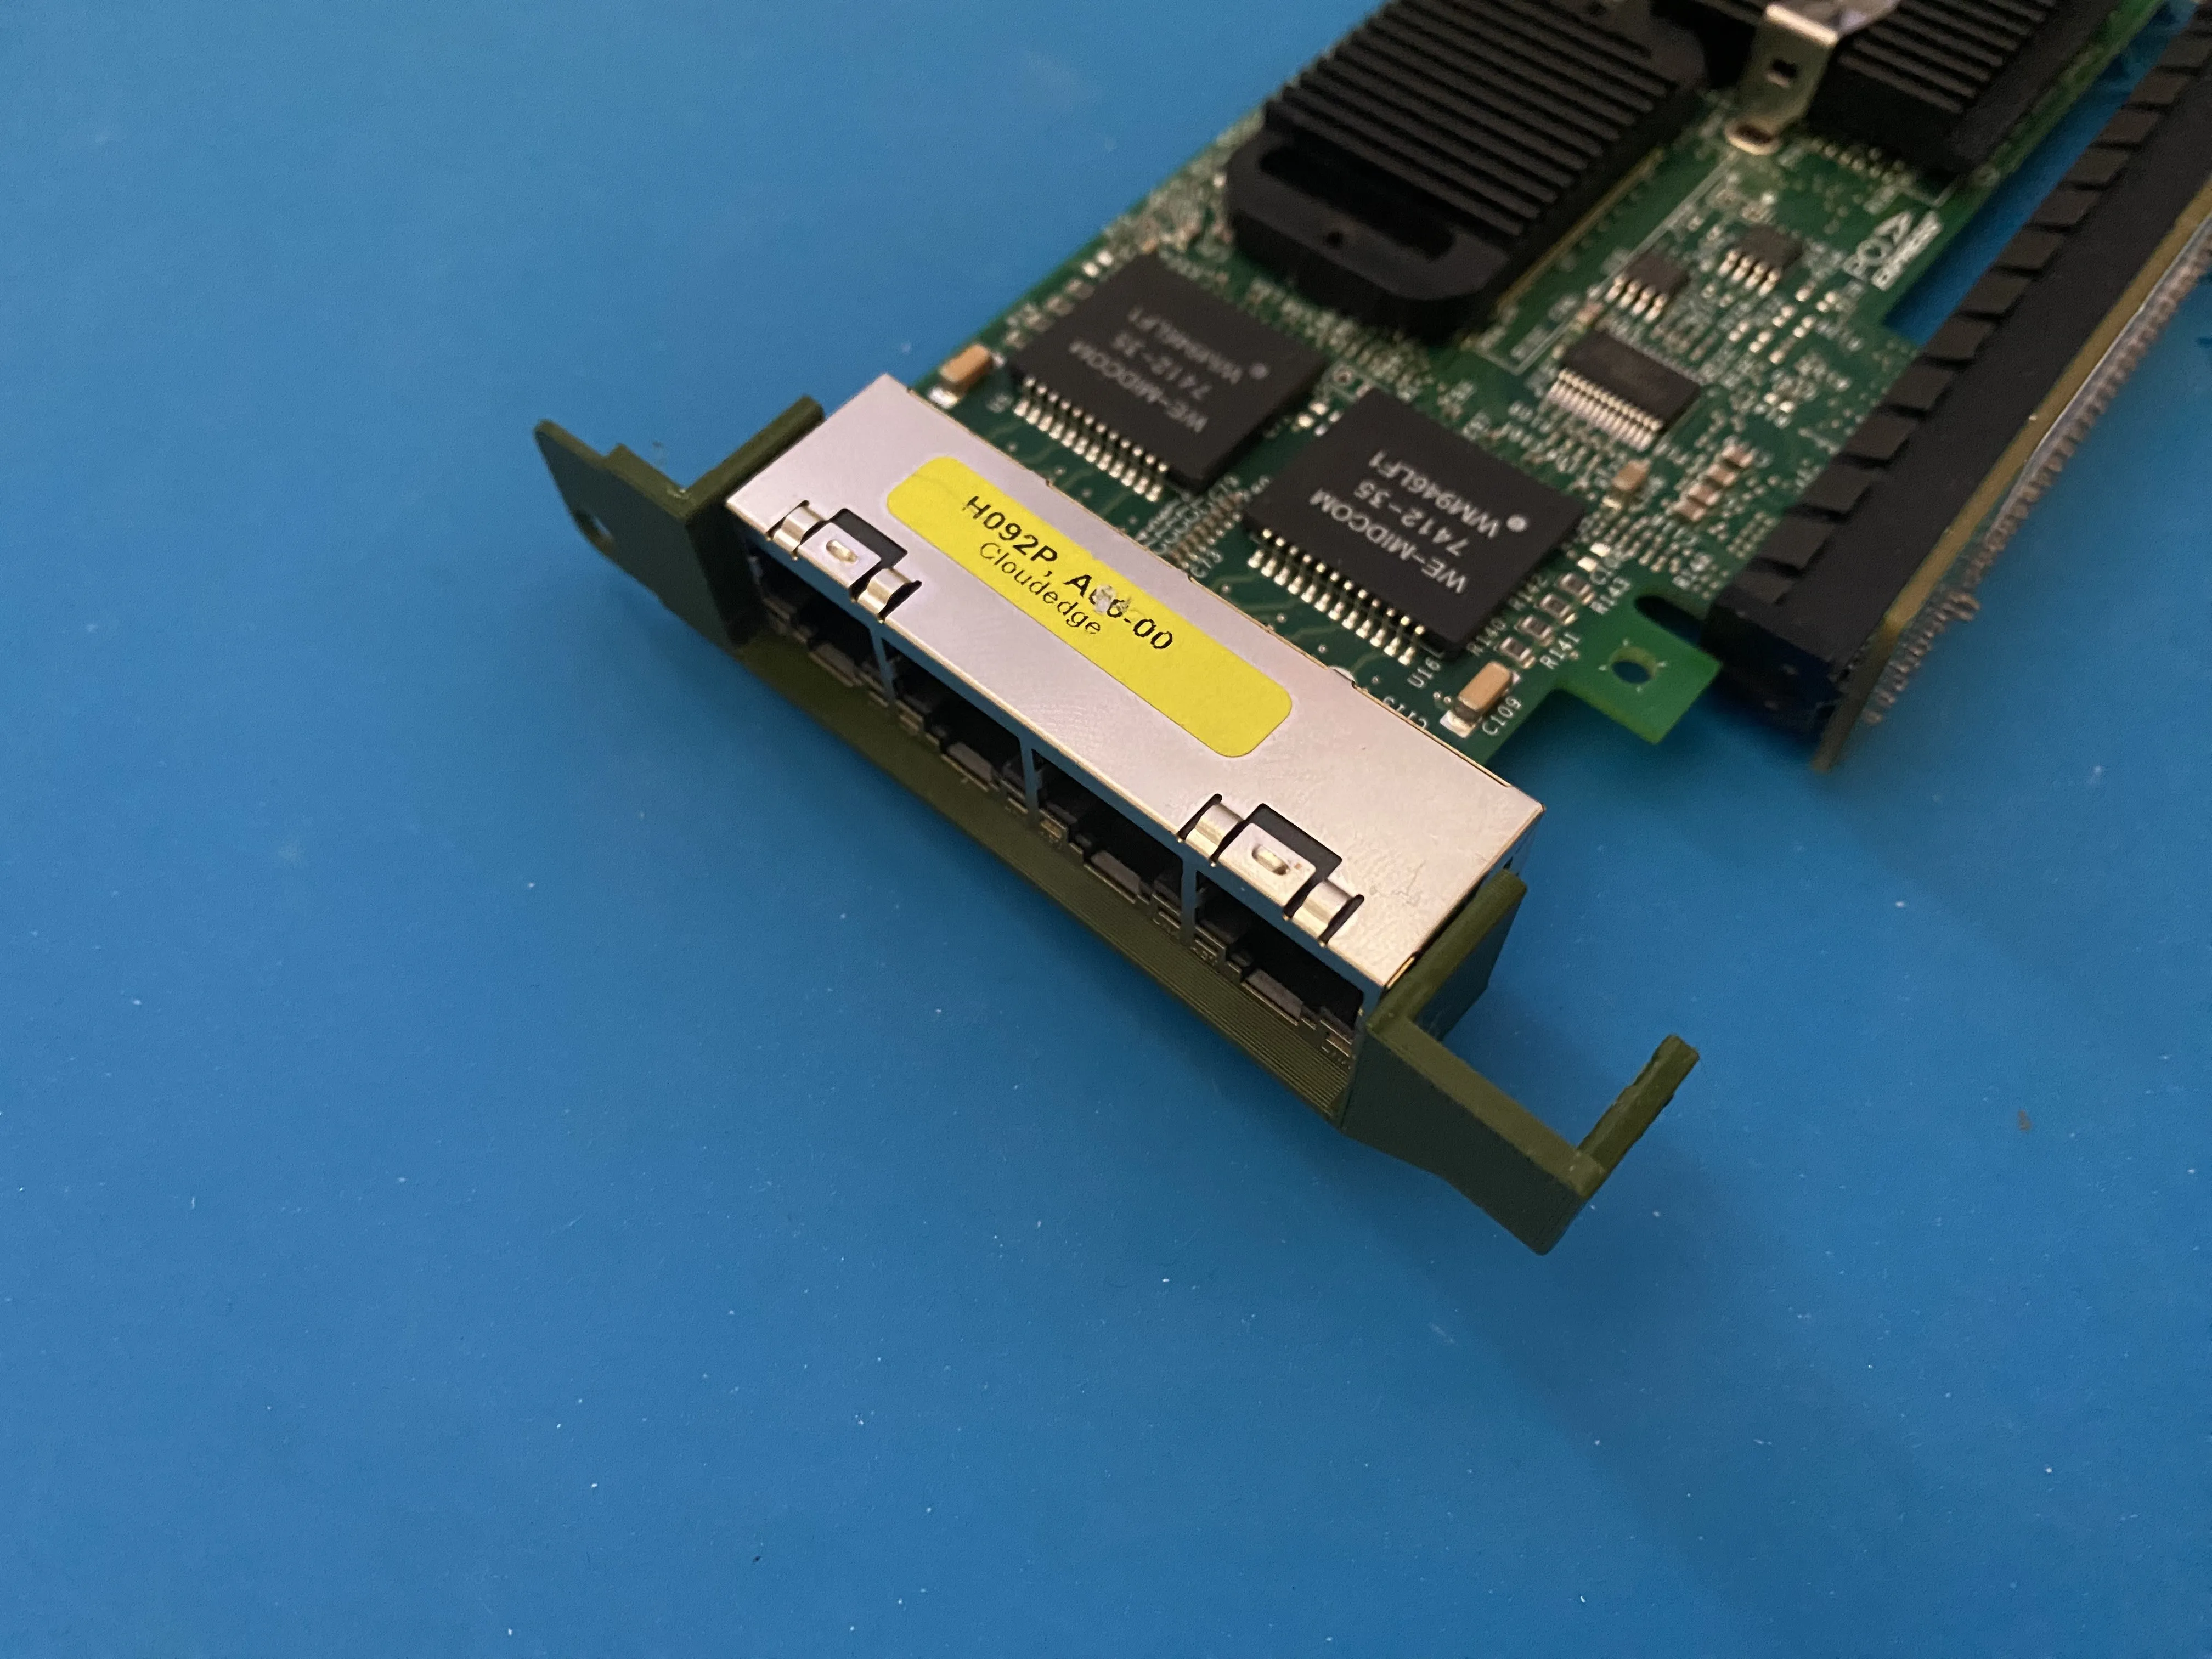
Dell H092P
The H092P Pro/1000 VT NIC was an easy decision because I found it for free on marketplace. When looking online I found most people using Intel i350T-4’s or X520’s. Intel cards are recommended as they have the least driver issues. Luckily the H092P Pro/1000 VT is an Intel card and was perfect for this build.
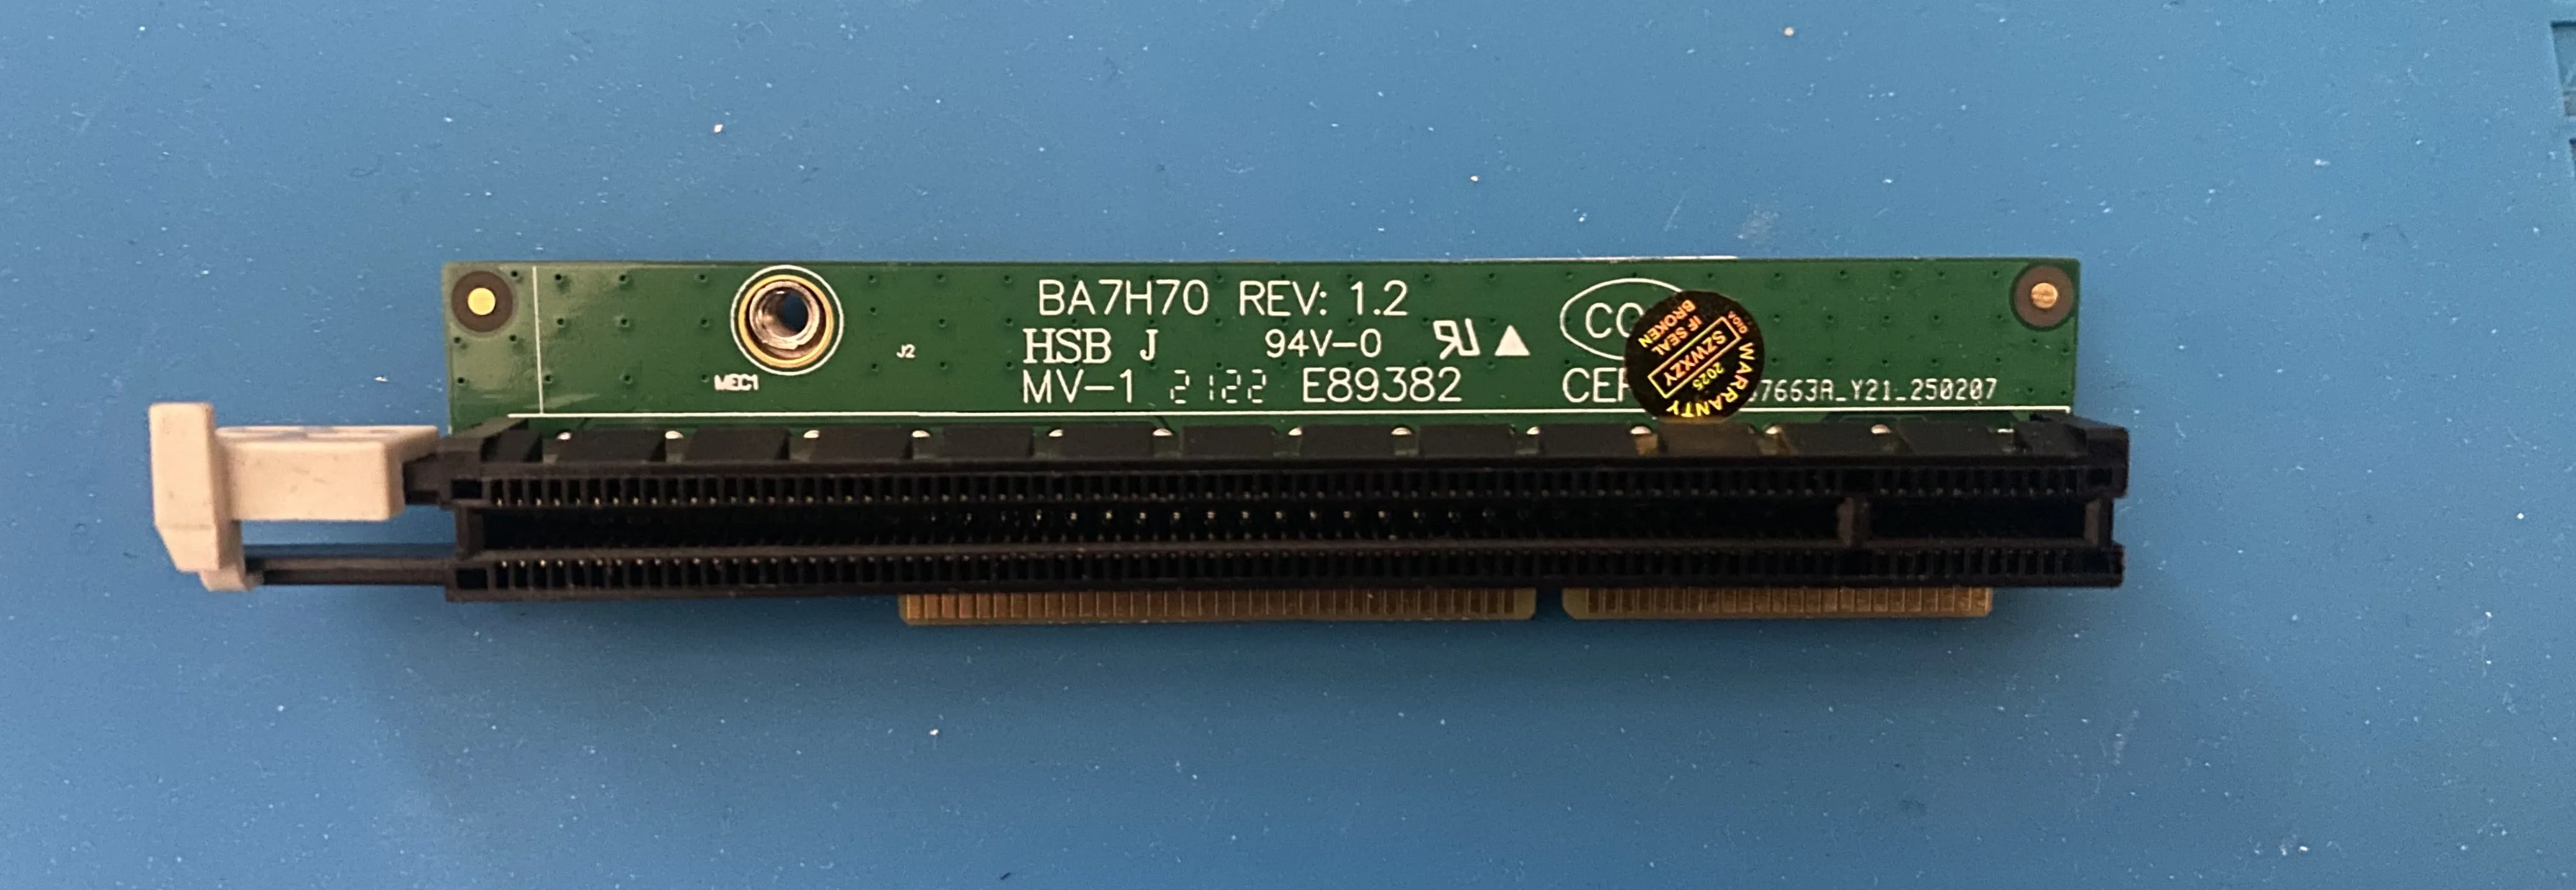
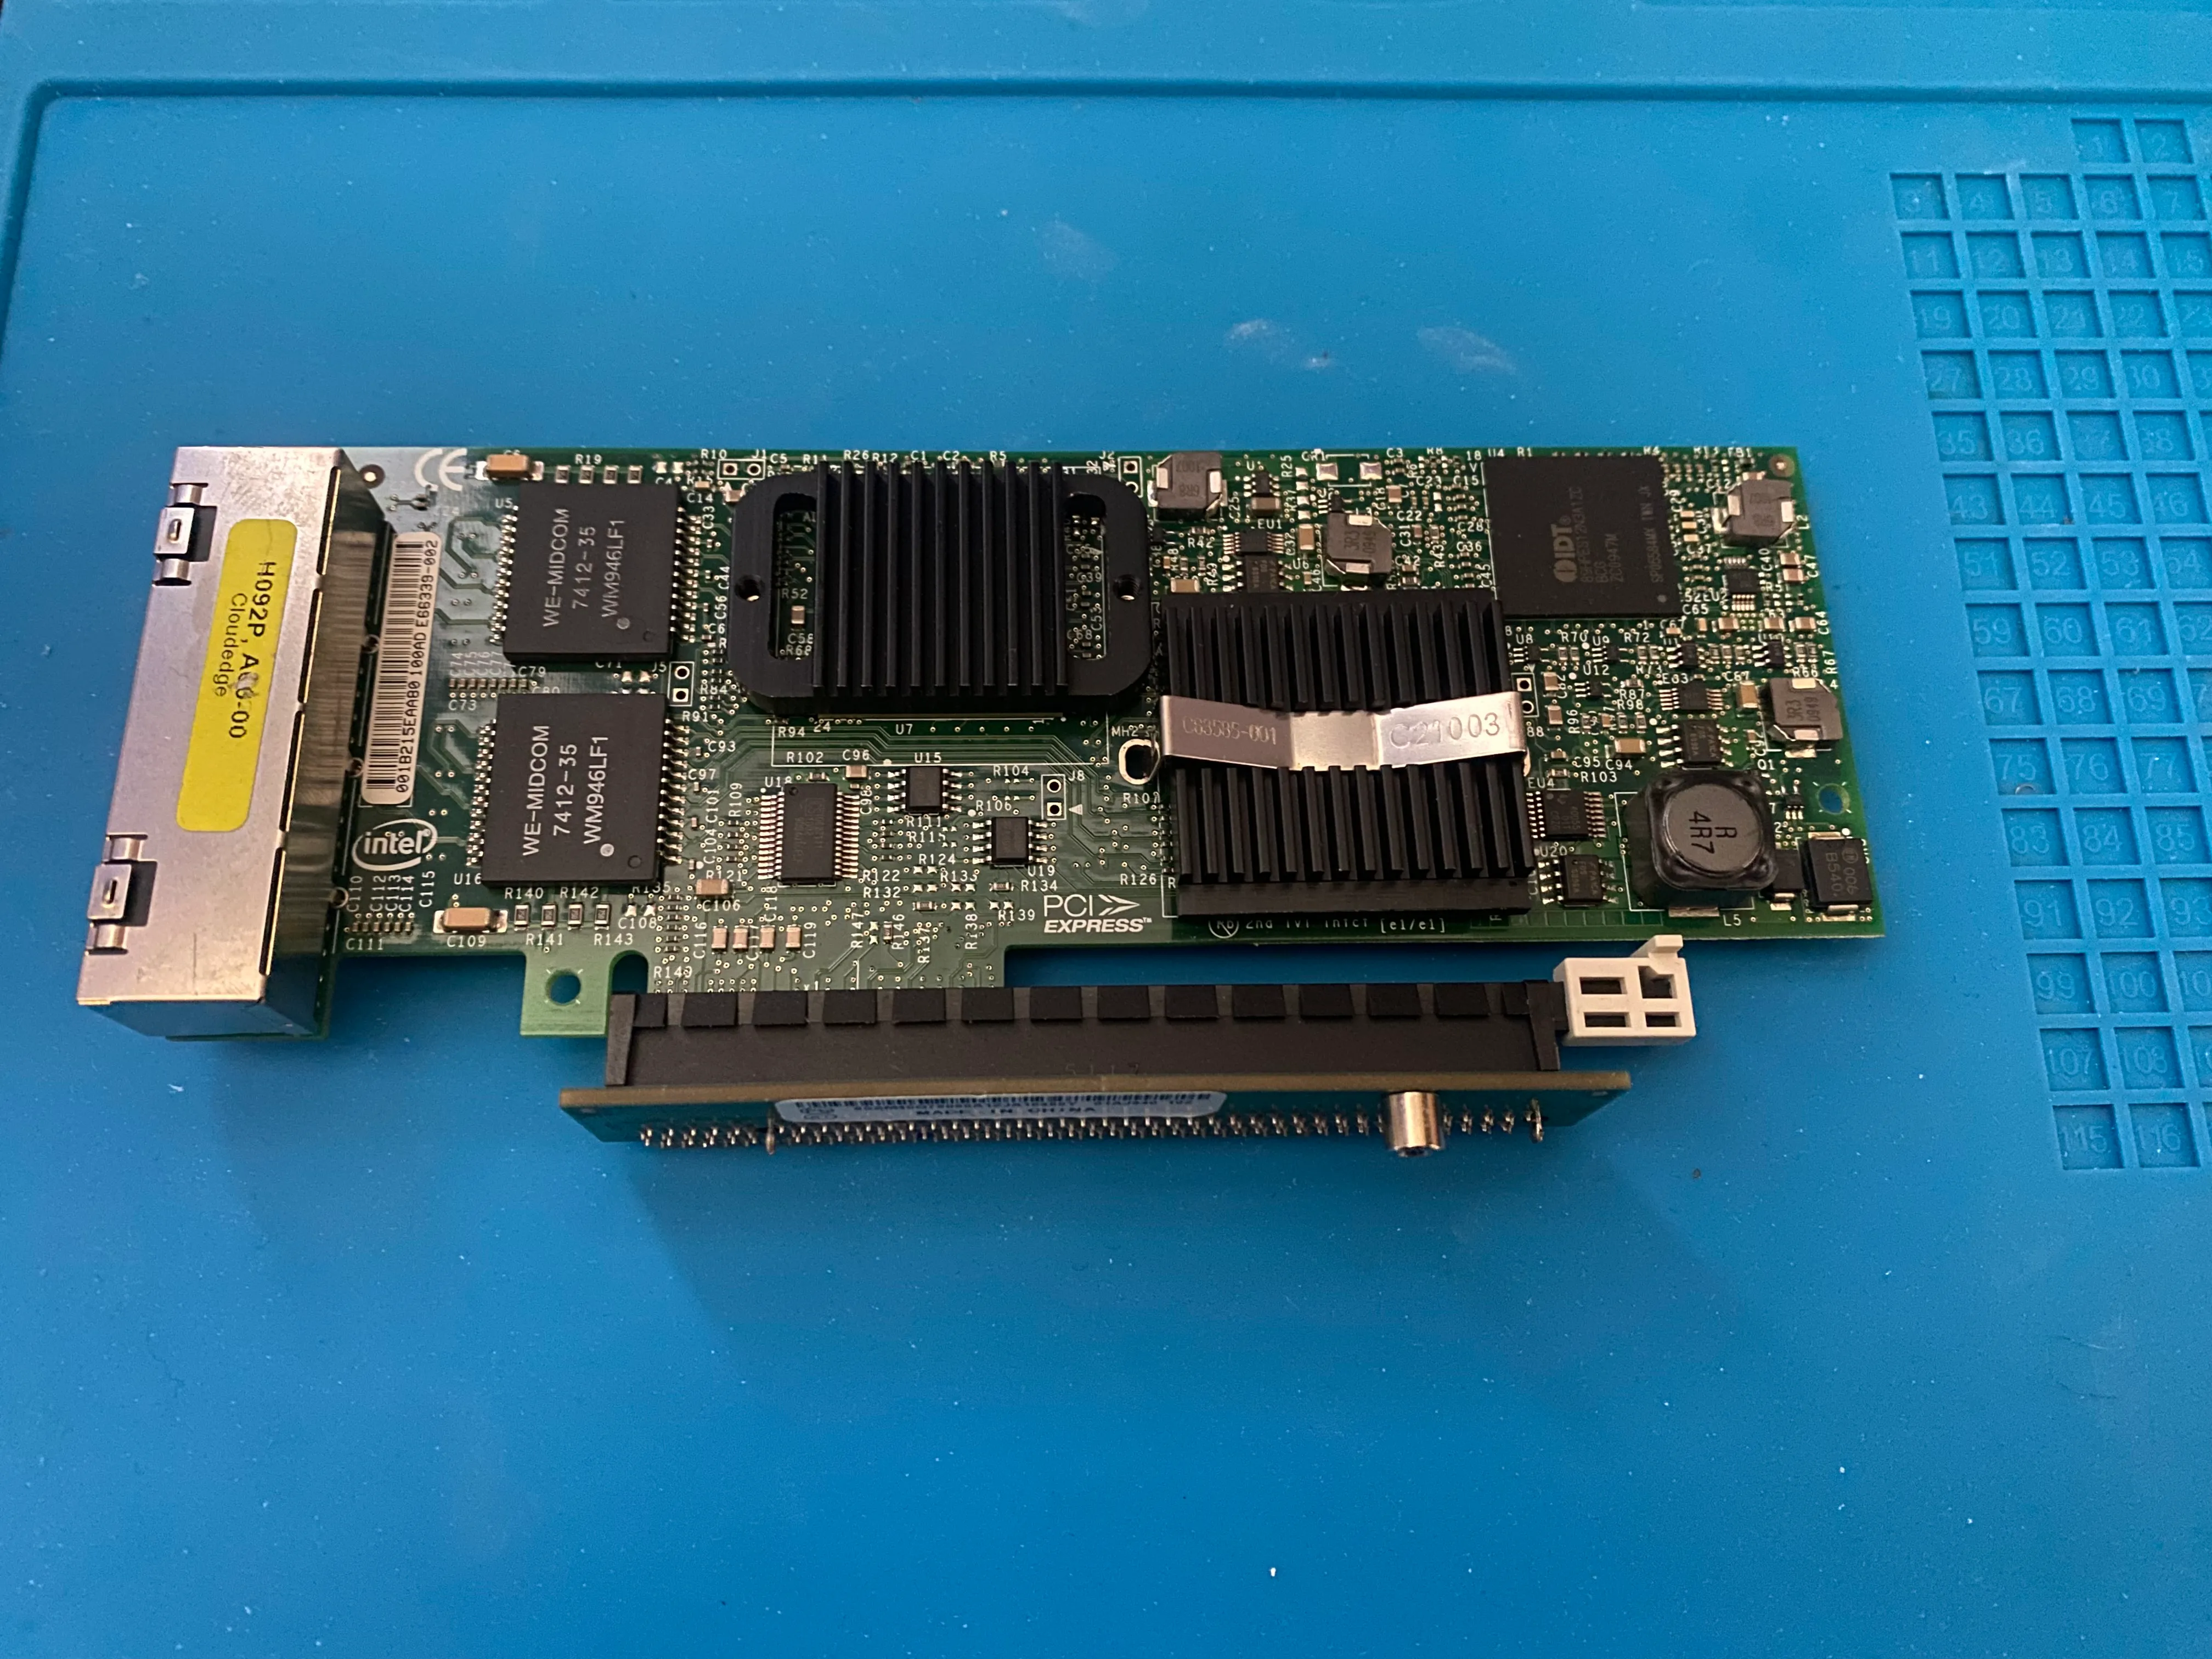
PCIe Riser
If your 720q or 920q was not purchased with an expansion card it likely will also be missing the PCIe riser. This riser is mandatory as the PCIe slot on the motherboard is not standard. You can purchase the risers on ebay for about $15 CAD at the time of writing.
Boot Disk
I also will mention I used a 500Gb Nvme SSD as my boot drive. This is way overkill but it’s what I had handy. The 720q has a single Nvme slot on the back of the motherboard, you will need to use this as the NIC will obstruct the 2.5in bay inside the chassis.
Preparing the 720q
Before adding the NIC there are some parts that need to be removed. The lid is retained with a single screw on the rear of the chassis, once removed the lid will slide forwards and off.
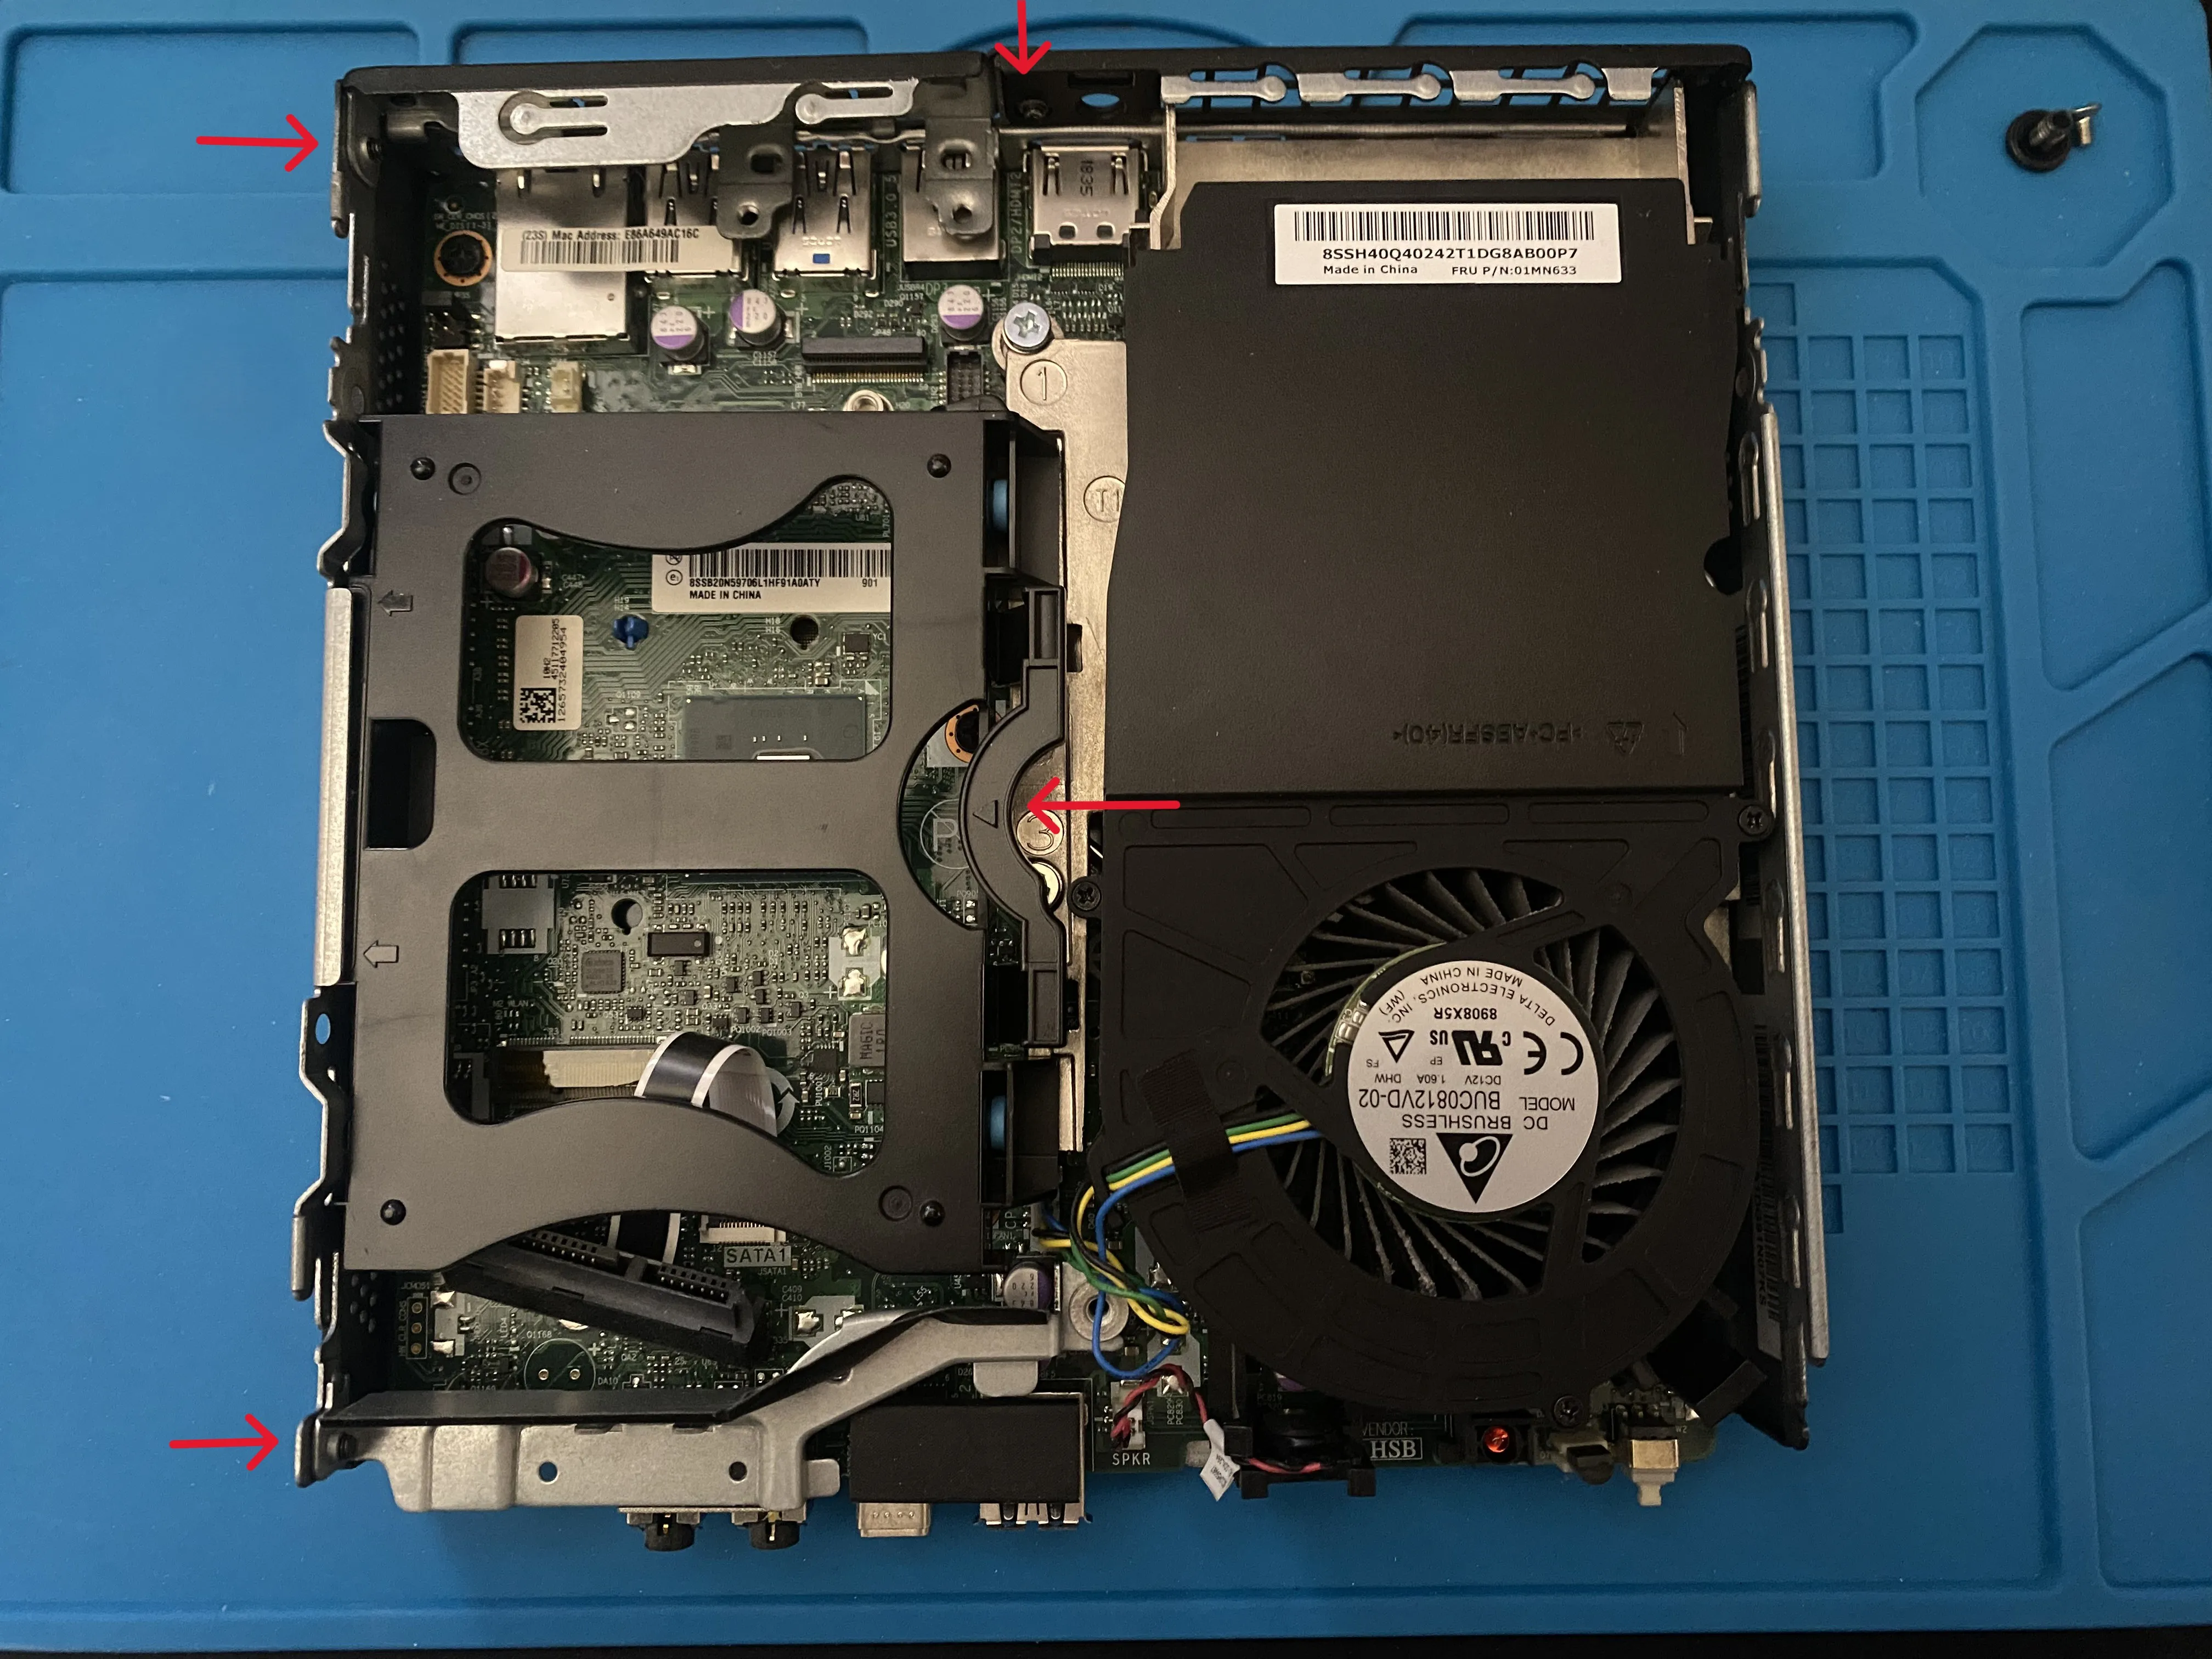
The 2.5in drive cage comes out without any tools by squeezing the plastic in the direction of the arrow. Then you can remove the rear PCIe bracket which is held in by two screws, one on the side and on on the rear. next remove the front shroud which is held in by a single screw on the side. make sure to hang on to all the screws.
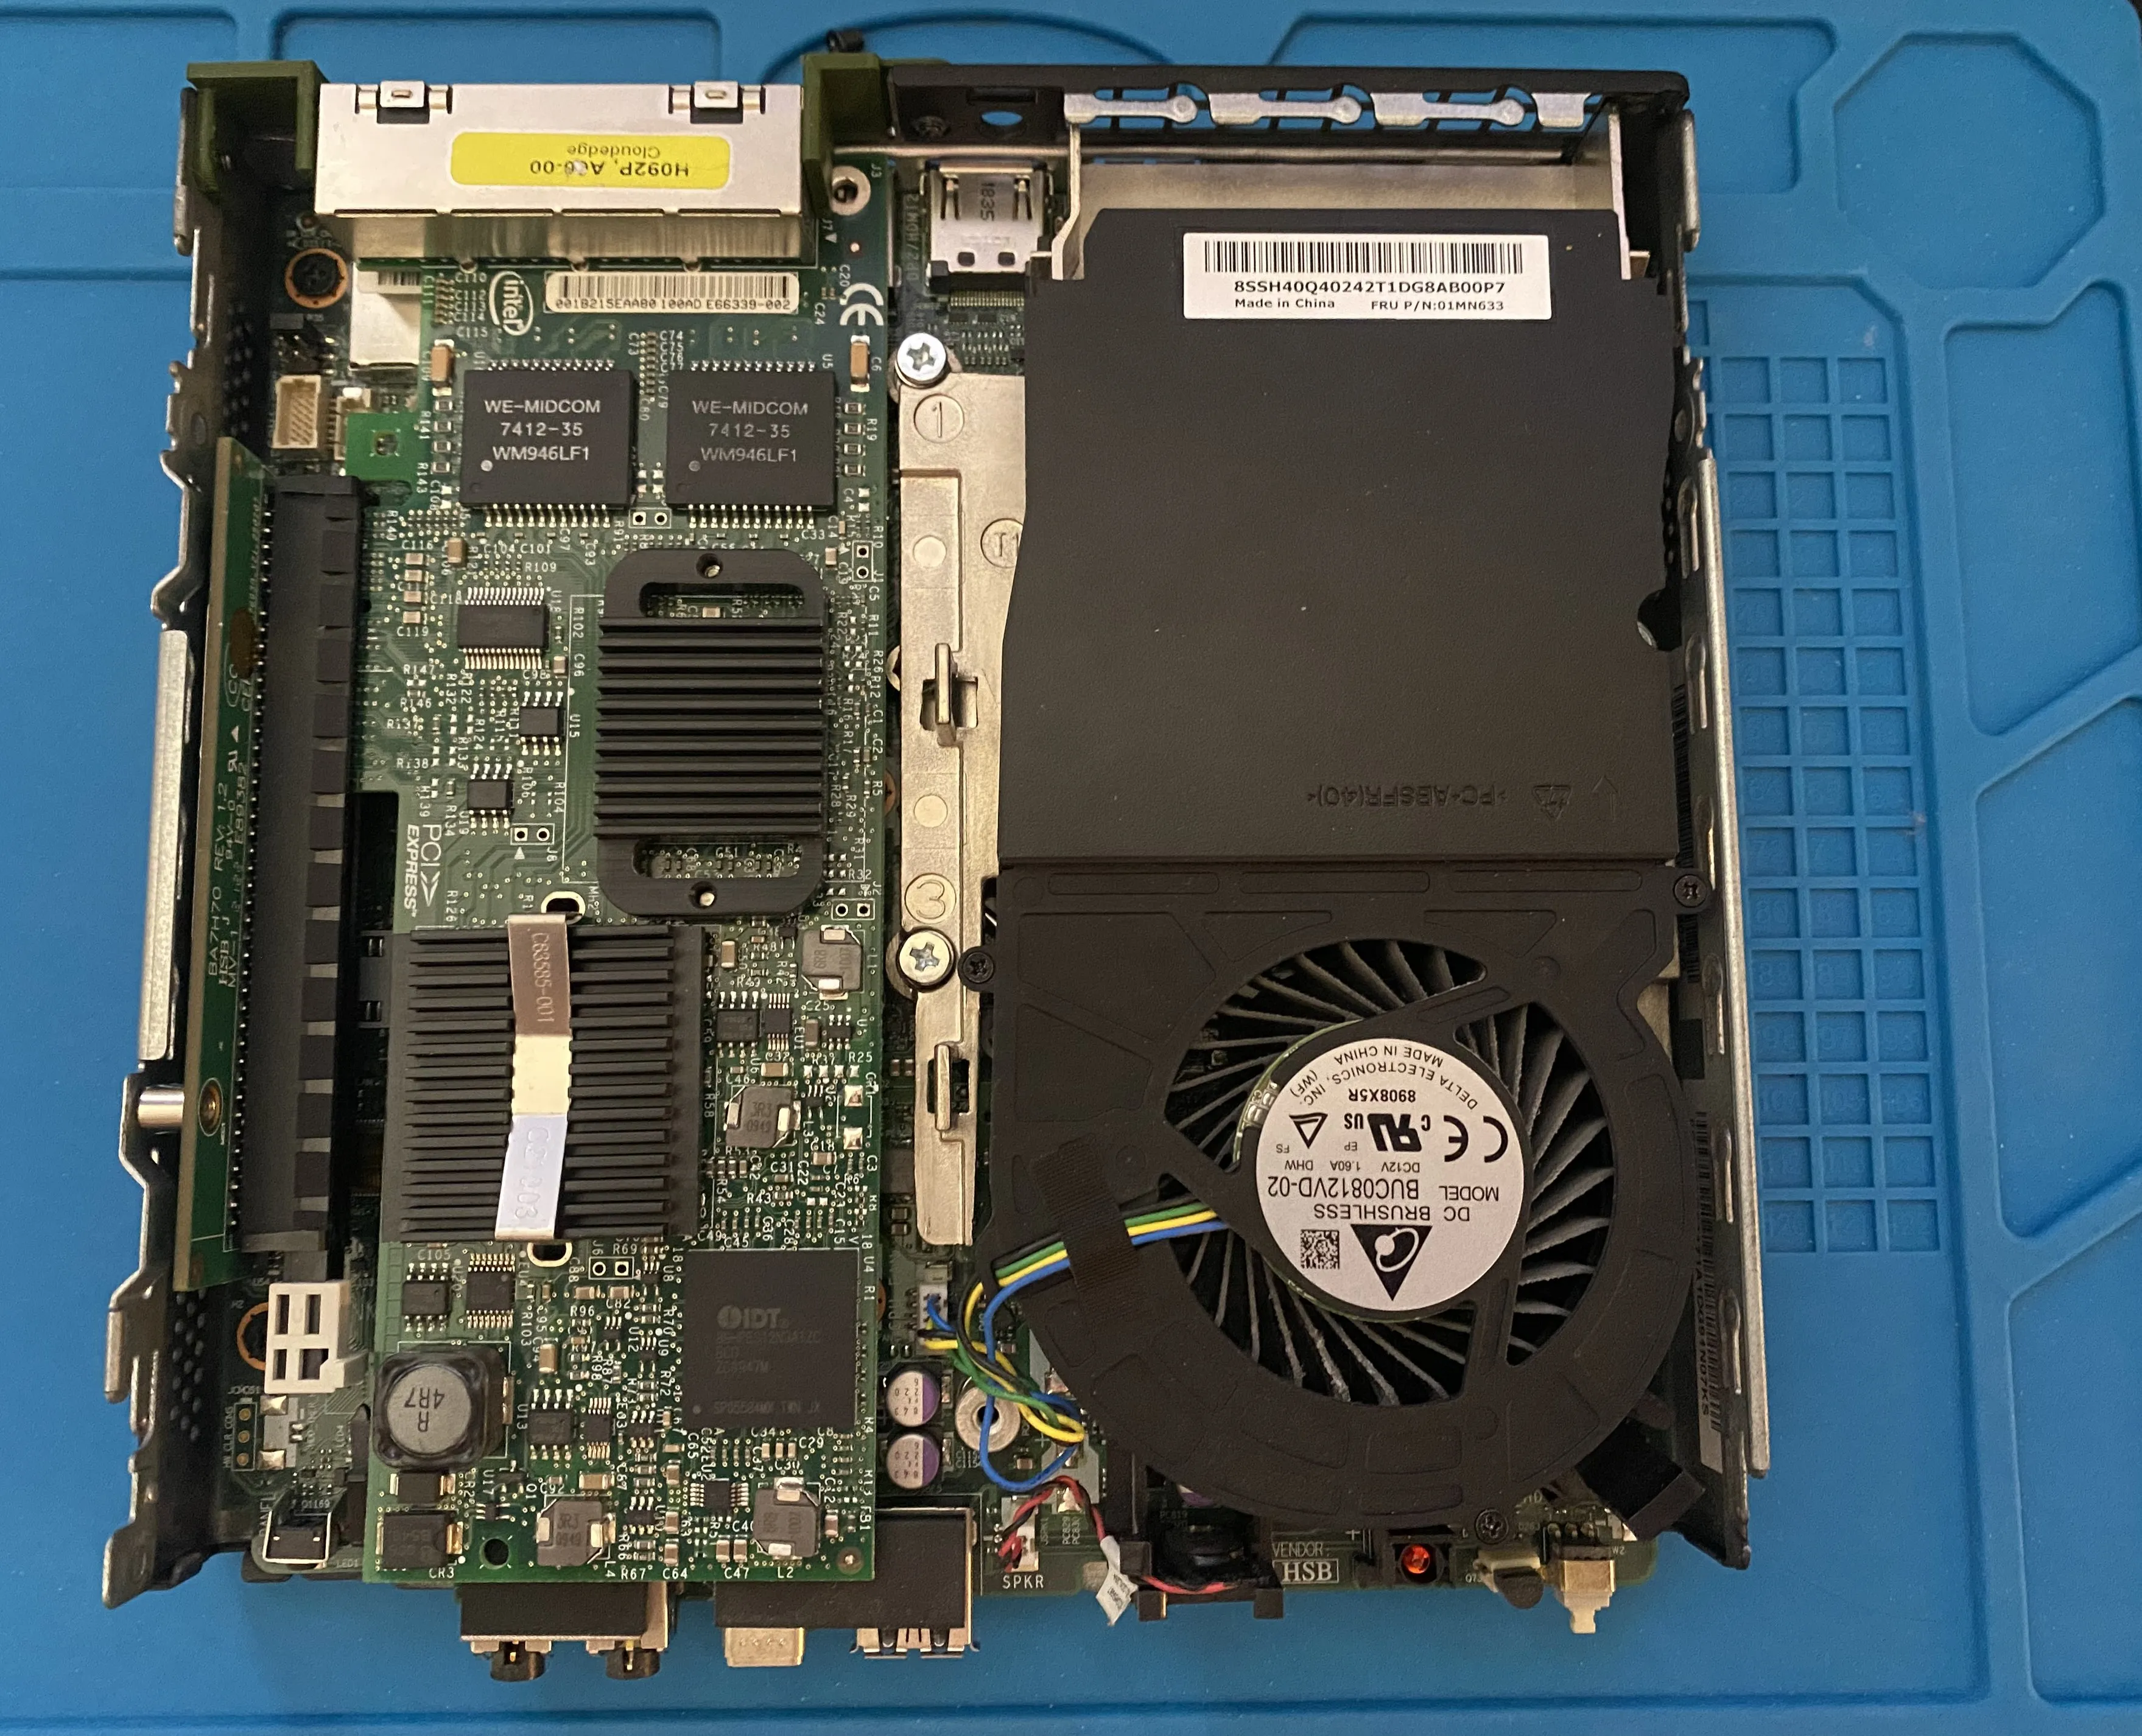
The result should look like this.
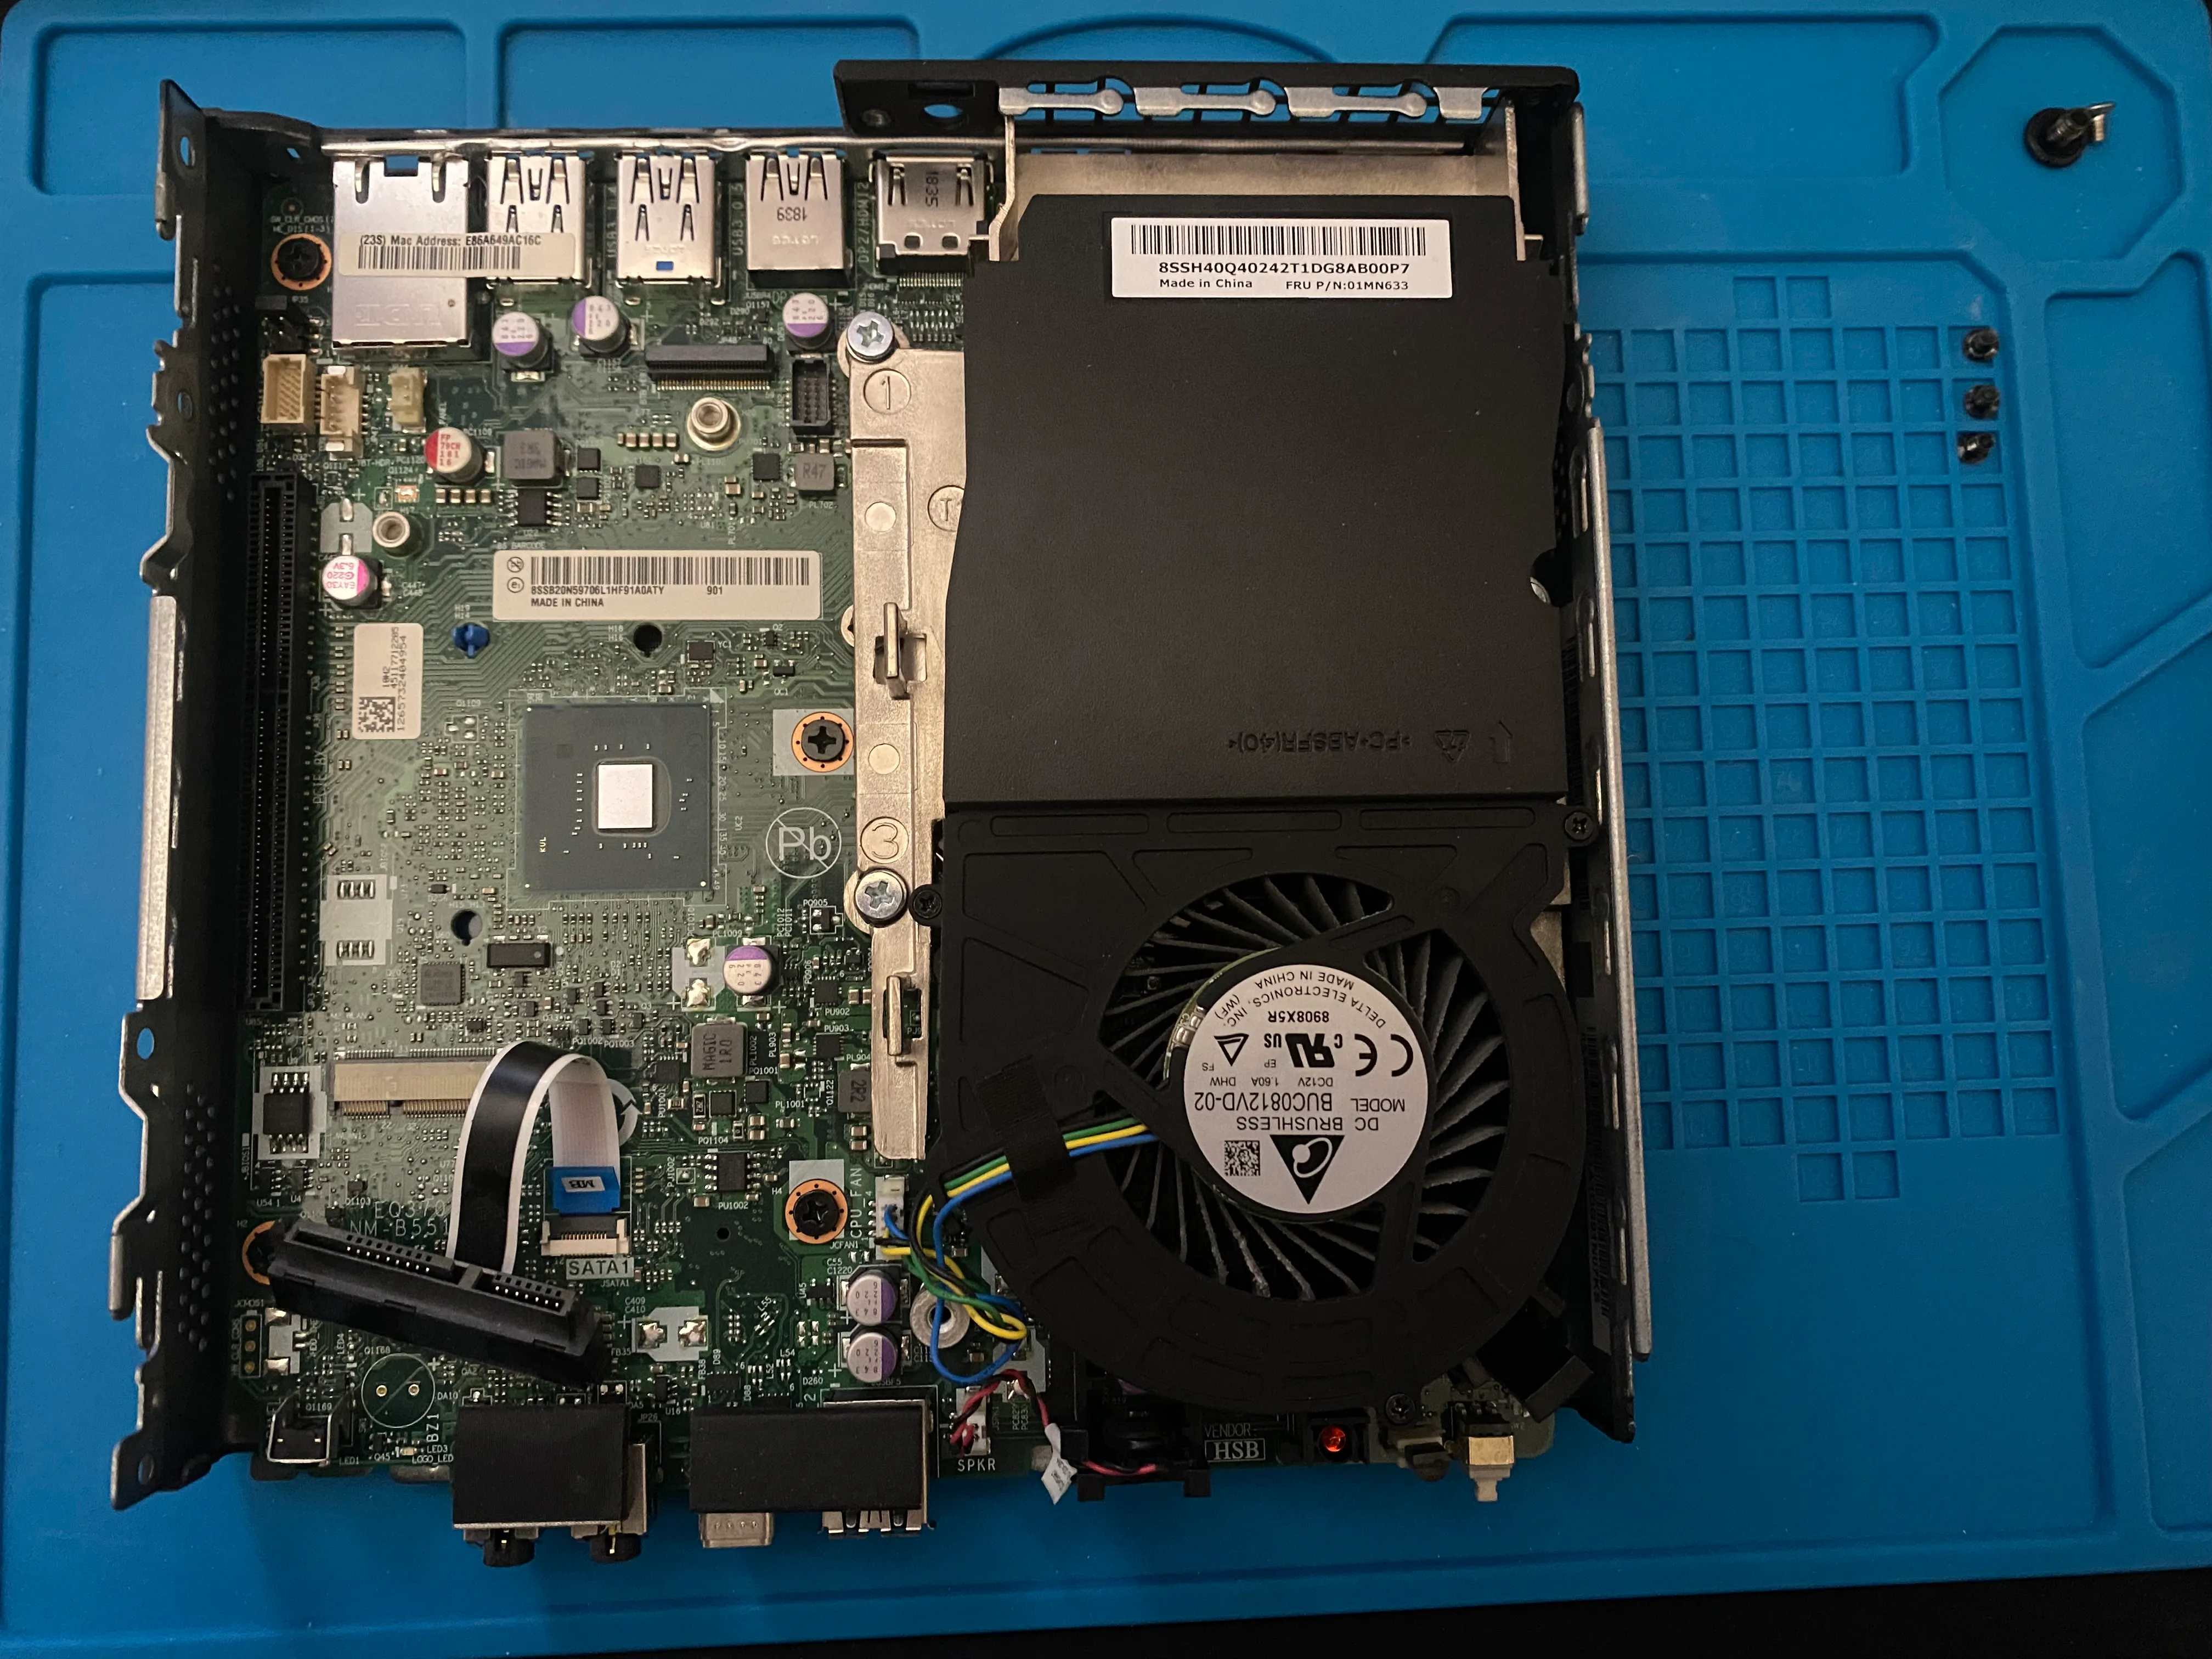
Some users elected to remove the SATA connector. I found that there was just enough space below the card to fit the connector without pinching the ribbon cable. So I left mine installed.
Preparing the NIC
My NIC came with a full height bracket so first I had to remove that. There is a single screw holding the bracket on.
Then I attach the PCIe riser to the NIC. This has to be done before the riser and card are put into the system.
Custom PCIe Bracket
The 720q uses a non standard PCIe bracket design, if you purchased your NIC as an option with the 720q you would have a perfect fit bracket. However in my case I do not. MY solution was to hop into Fusion360 and design a 3D printable low profile bracket.
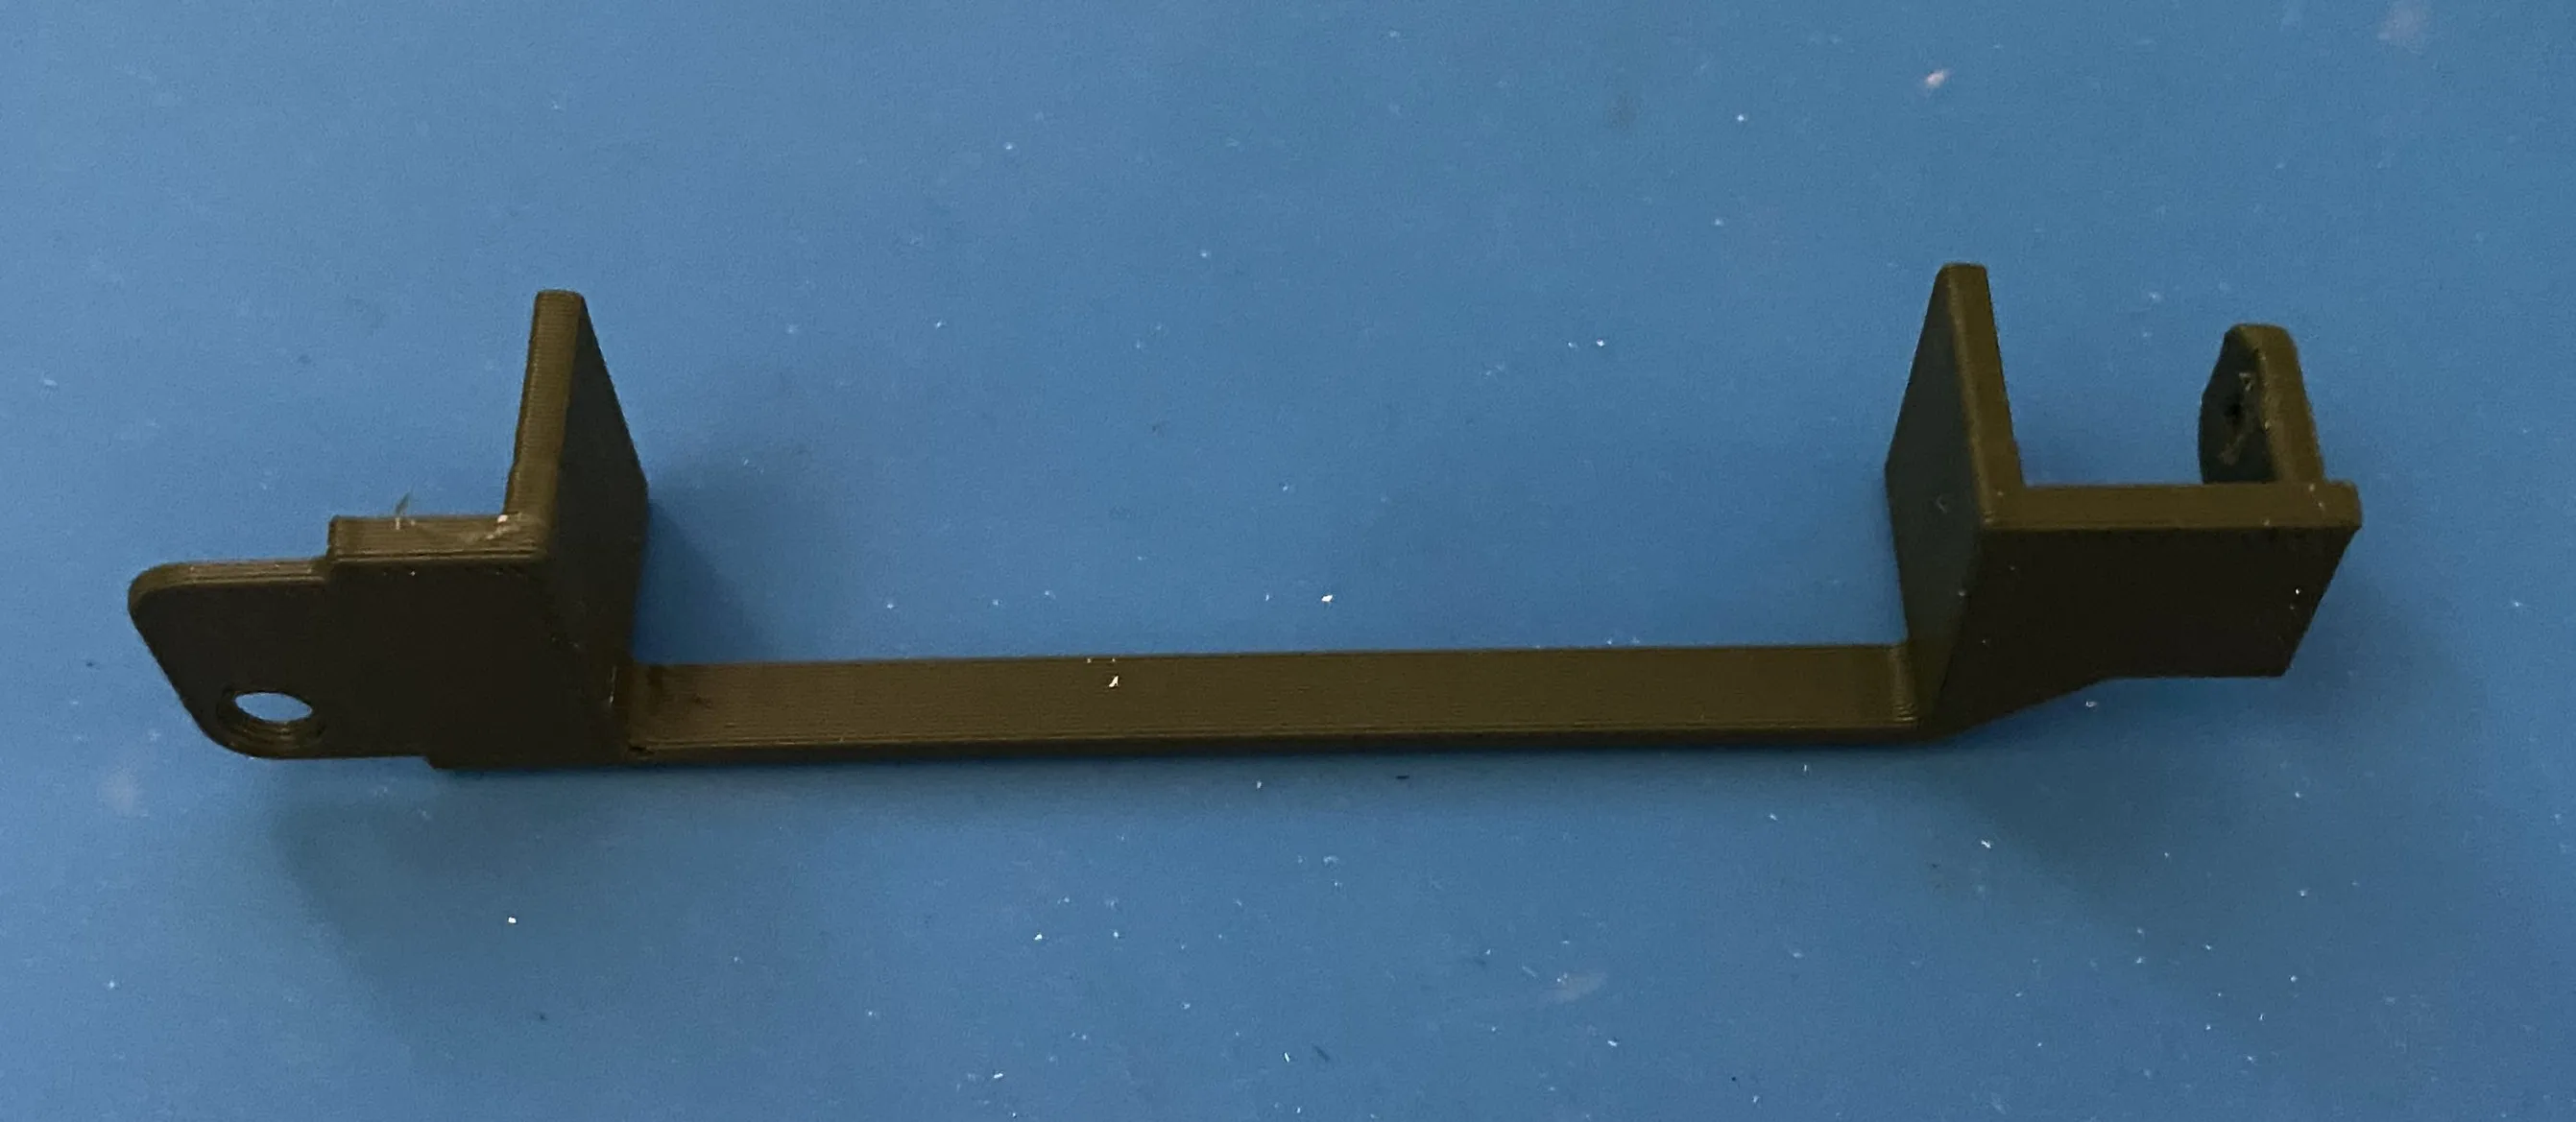
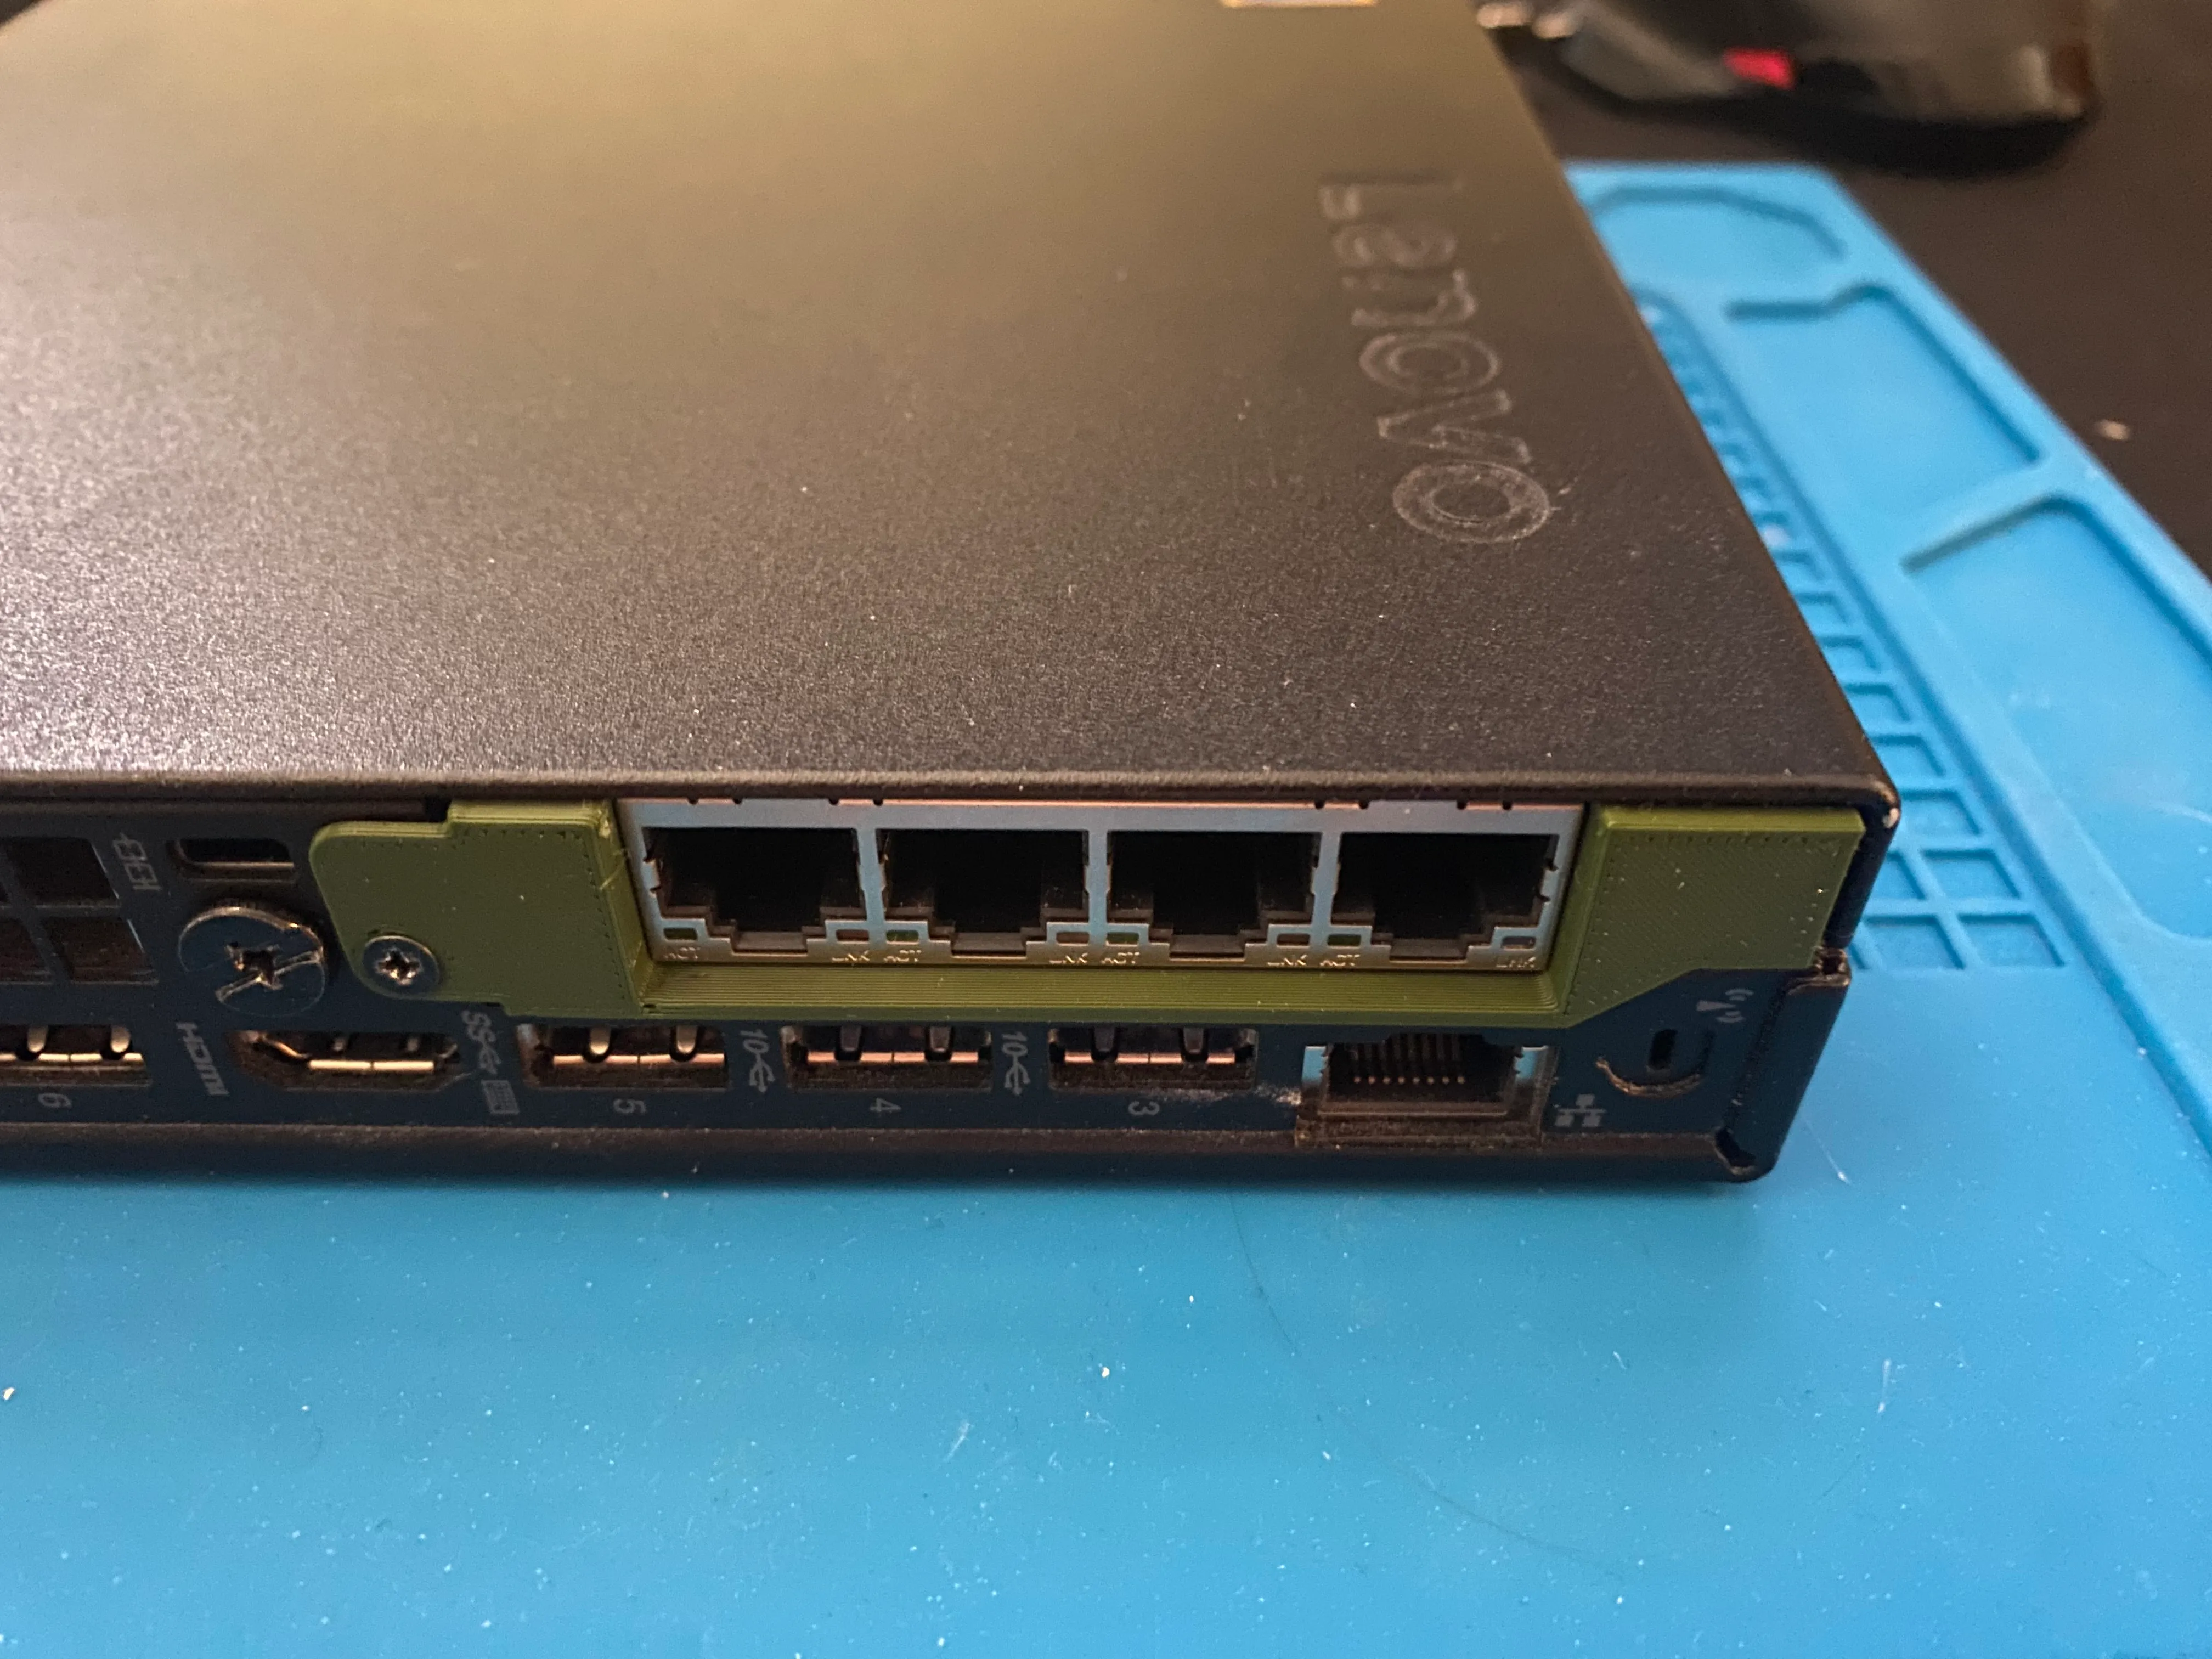
The bracket perfectly supports the H092P and works seamlessly with the 720q’s chassis. If you want to print this yourself you can find the 3D model on my Printables page. My bracket does not screw into the NIC but securely holds once installed.
Installation
Now the NIC can be added to the 720q. The NIC lowers down into the chassis while ensuring the PCIe connector on the riser is pushed firmly into the slot on the motherboard. Use one of the three screws removed earlier and secure the PCIe riser to the chassis.
Then the last two black screws, removed earlier, secure the 3D printed low-profile bracket to the chassis. The final step is to slide the lid back over the chassis.
Finally after starting the machine I am able to detect all the newly added NICs in Proxmox. Using lspci to pull up the PCIe devices:

I did not end up using Proxmox as I decided to install OPNsense bare metal. This was a reliability decision but I am interested in virtualizing OPNsense in the future.
Conclusion & Notes
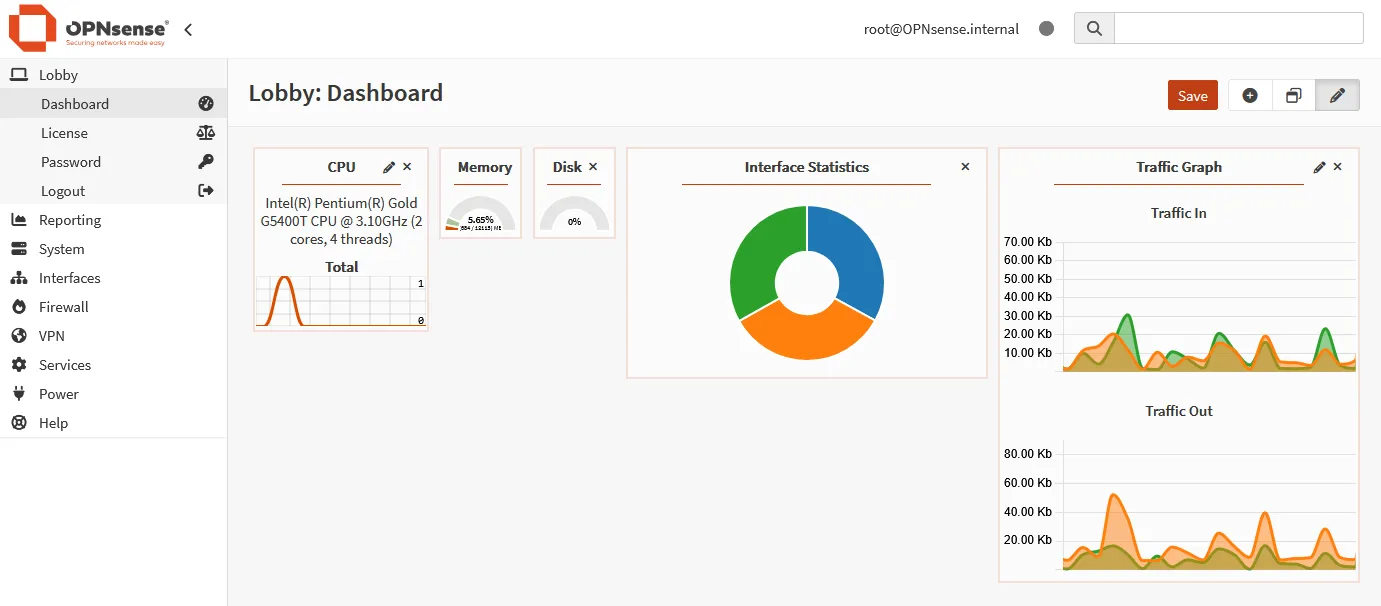
I successfully installed OPNsense and have begun the process of configuration. The NICs seem to be holding up great and I have had no issues thus far.
 One concern I have is heat management. I have seen community members print a custom lid that has grills, I may look into something like this.
I will update this post on cooling performance and uptime. Thank you for reading :)
Project Links
- OPNsense Homepage - https://opnsense.org/
- Lenovo 720q- https://minipcreviewer.com/lenovo-thinkcentre-m720q-tiny-desktop-review/
- H092P Network Card - https://www.newegg.com/p/14U-0036-004J4
- 3D Printed bracket by me - https://www.printables.com/model/1688898-lenovo-720q-pcie-bracket-for-h092p-pro1000-vt-nic